With the cool weather already starting to set in, I couldn’t resist jumping right into these fall leaf cupcake toppers! These little leaves are perfect for cupcakes or mini cupcakes – or even to use on a fall themed cake if you have a design that needs them!

Here’s what you’ll need to make these fondant Fall leaves:
- Fondant in fall colors; I used brown, orange, yellow and green
- A small rolling pin
- Shortening (I use this on my surface to prevent sticking)
- Mini Leaf Cutters
- Veiners (optional)
Okay – once you have everything ready – let’s get started!
Step 1: To get the tie-dyed look for these leaves, you’ll start by tearing off small pieces of each color of fondant, then bunching them together.

Step 2: Make sure your surface or mat is well coated with shortening, then roll out the different colors into one smooth piece of fondant.

Step 3: Since this would still yield mostly solid-colored leaves, I like to tear the edges off, layer them over the rolled out fondant, and roll again:


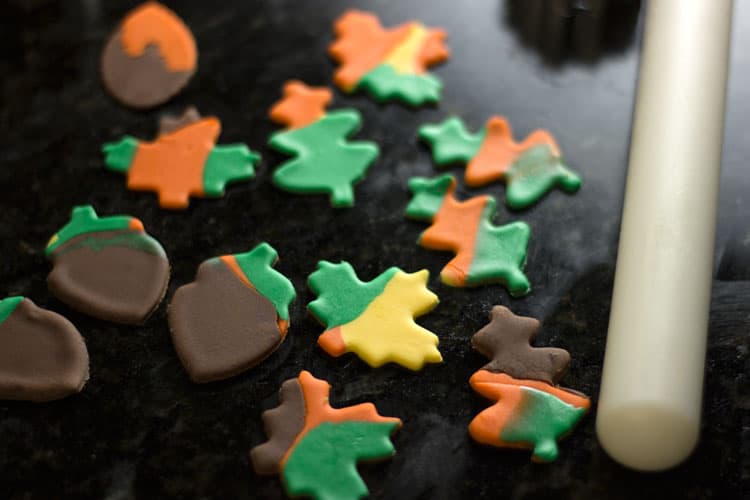
Step 4: Now you’re ready to cut out the leaves. I used 3 different small leaf cutters plus a mini acorn cutter.
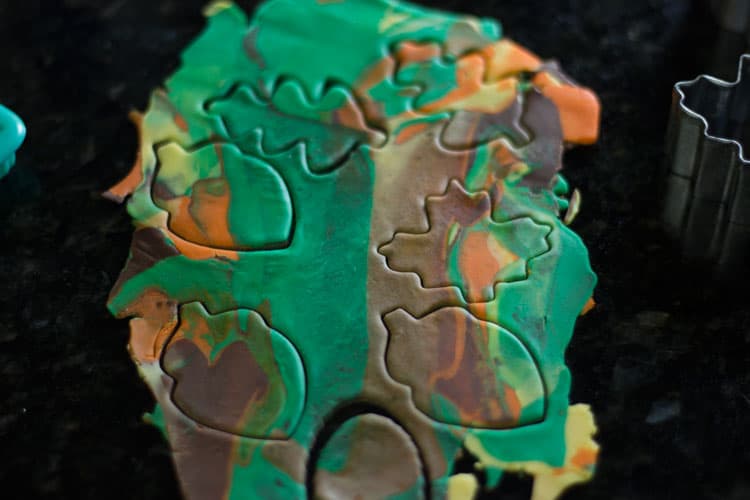
Step 5: Now – the leaves only get prettier from here. I like to pull up all the scrap fondant – do not knead it together, but rather just pile it up -then roll it out again:

Now the colors are even more mingled together without being completely combined yet. I always think the second or third rolling out is the best!

Step 6: Cut out another round of leaves. Then you can repeat that again and again as much as you need to, or until the colors all run together. (I think this is the 3rd rolling out below:)
Step 7: You could stop here and have smooth leaves, but I like to go a step further and have my leaves texstured. There are a few ways to do this including the Wilton Leaf Veiner set or individual veiners. I have a whole bag of different leaf veiners/textures, so I pulled out some that fit these leaves and began pressing them into the fresh fondant. You cannot allow the fondant to dry before doing this – it needs to be done while the fondant is still soft and fresh.
I just lay the veiner on top and press to get a good impression.


Step 8: Once you have them all textured, set them aside to dry. I like to use a plate with a “lip” or raised edge so that some of them are curved and have shape. You can see I have some on the curved areas of the plate, some flat, and some even hanging over the edges.

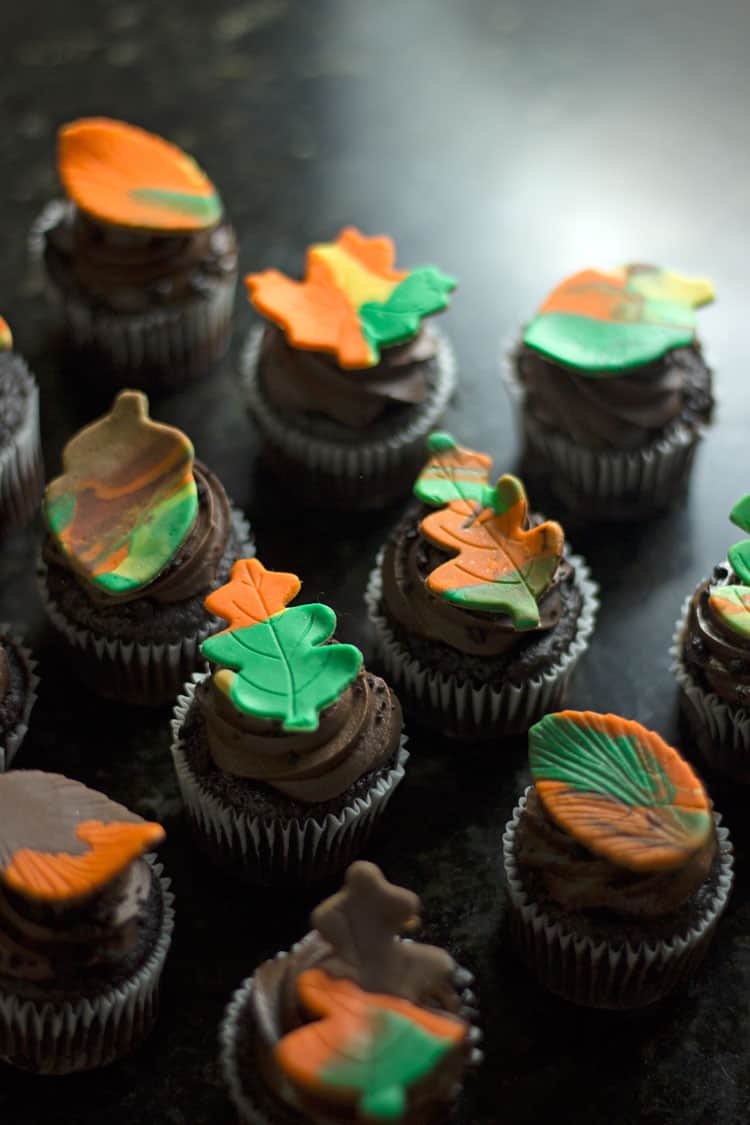
Step 9: Allow them to dry overnight, then they’re ready to go! This time around I placed them on mini chocolate cupcakes:
And you’re done! This is a very easy way to add a little fall touch to your cupcakes! They don’t take a lot of time or special equipment but they’re very pretty!
If you have any questions, leave me a comment!
Happy Caking!
Rose
The fall season is my wife’s favorite time of the year, and especially the month of October. I am searching for cool ideas for her to impress her, and give her something fun to do. I love the fall leaves of fondant on the cupcakes. Hopefully this will be within her skill range, but I’m too worried about it. Thanks for these ideas!
Awesome!
These are perfect for my fall party!