
One day we were brainstorming a new baby shower cake pop design while trying to keep it pretty simple. It only seemed natural to take what already works and give it a twist. So, we decided to add a smaller cake pop ball on the other end of the stick and the Baby Rattle Cake Pop was born. Cute and easy to make, this clever treat will make a big impression with your guests.
Note: This instruction makes 10 finished cake pop rattles. You can easily increase the amount by buying more candy coating and prepping an extra sheet tray. Also adjust the cake pop filling accordingly.
Here’s what you’ll need:
Your Favorite Cake Pop Filling Recipe
Pink Candy Coating
Parmount Crystals
4.5″ Sucker Sticks
Piping Gel
Paintbrush
Pink Gingham Ribbon
1 3/8″ Scooper
Bright Pink Sanding Sugar
2 – 1/2 Sheet Trays Covered in Parchment
STEP 1: SHAPE CAKE POP BALLS
Chill your cake pop mixture for at least 15 minutes or until it is firm. Then, use the small scooper to scoop a level portion of filling into your hand.

Roll the portion in your hands to create a symmetrical ball and place it on one of the parchment covered trays. Repeat with the remaining filling until you have 15 balls.

Next, cut 5 of the balls evenly in half.

Roll these half portions into symmetrical balls as well. When you are done you will have 10 large balls and 10 small. Place the tray in the freezer for 15 minutes to firm up, but no longer or your cake pops will have a tendency to crack.

STEP 2: COAT THE POPS
In a microwaveable cup, deep enough to dunk the cake pops, melt the pink candy coating on half power for 30 seconds at a time, stirring in between each interval. Once the coating is almost melted, remove and continue to stir until completely melted (do not overheat the coating).
Next stir in a pinch or two or paramount crystals until the coating is thinner and more fluid. (This is an essential step to make the coating thinner. I find that skipping the paramount crystals results in gloppy, heavily coated cake pops…ugh.)

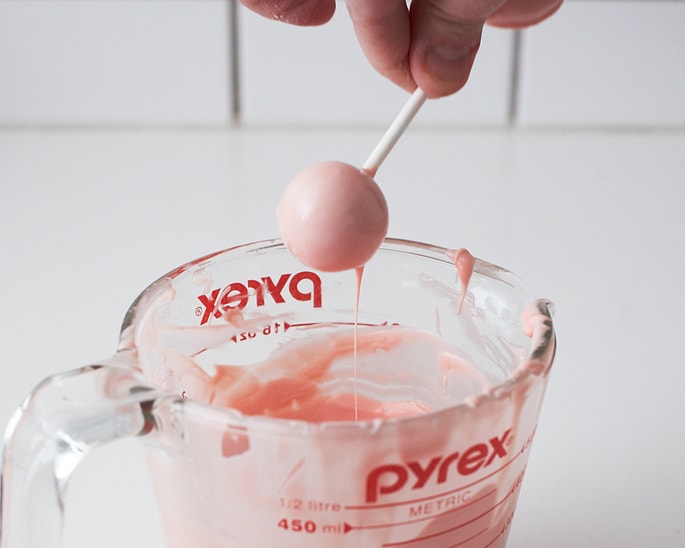
Before dipping, make sure your coating is cooled and not hot to the touch. After 15 minutes, remove the balls from the freezer. Dip the end of a sucker stick in some coating and gently insert it half way into a large cake ball. Wipe away any drips, if necessary.

Then, dunk the entire ball in coating and very gently tap it on the edge of the cup to remove any excess. Place the pop on the tray and repeat with the rest of the large cake balls.


Place the coated pops in the fridge for 10 minutes to set and place the remaining small cake pop balls back in the freezer to set up as well (by this time they are probably a little too soft and this will firm them up again).
After 10 minutes, remove both trays and repeat the whole process using the small balls, but instead placing them on the opposite end of the sucker stick. Again, place the pops in the fridge for 10 minutes to harden.
STEP 3: DECORATE TO FINISH THE POPS
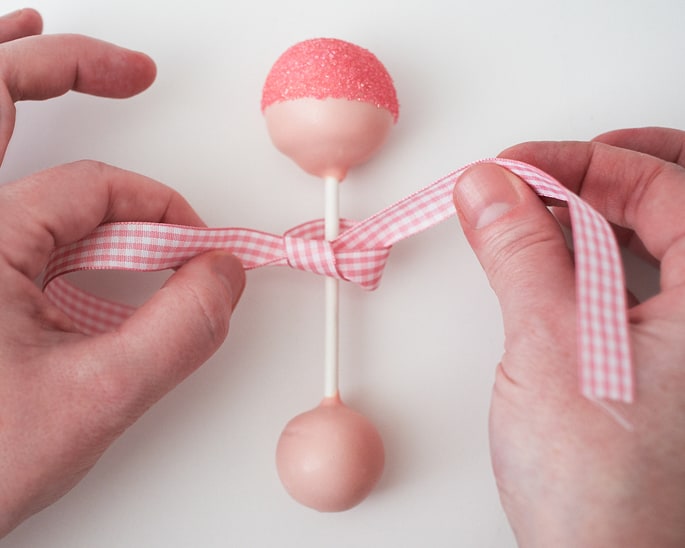
Paint the top half of the large ball with a very light coating of piping gel. (The sugar will stick wherever there is gel so make sure you paint it nice and neat)

Over a bowl, sprinkle the gel covered area until completely covered.

Repeat with the remaining cake pops and then tie a small gingham bow on each one to finish.

You can also use colorful paper straw sticks and even fill them with sprinkles before adding the cake balls at the end for that extra rattle noise 🙂
It looks soooo cute, I will definitely remember that 😀
What a clever idea! I’ve never seen that done. I love the look!