
Today I want to share with you How to Make Bunting for a Cake. I’m not a “crafty” person, so I always struggle when my cake decorating needs cross paths with a task that requires me to be more crafty. But this little bunting topper could not be easier.
It’s made with pretty common materials, it’s easy to put together and it could be customized to add something a little extra special to almost any cake! Are you ready? Here’s what you’ll need to make bunting for a cake.

- Scraps of fabric to match your cake – I chose 5 different colors/patterns, but you could use all the same or alternate two or three colors.
- Scissors
- String or twine of cord
- Hot glue gun or some kind of crafting glue (I love the hot glue gun because it dries within minutes!)
- Bamboo skewers or lollipop sticks – whatever you want to attach your bunting to
Once you have everything together, let’s get to work.
Step 1: Start by cutting out your first triangle. I free-handed mine, but if you prefer them to be more precise, you could print a template to use as a guide.


Step 2: You’ll want all the triangles to be close to the same size, so use the your first triangle as a template to cut out the rest. Again, I don’t feel like they have to be perfect. These were going on a rustic cake so the roughness and fray made them fit the design better!


Step 3: I didn’t take pictures with the cake while I worked, but basically you need to know how big the cake will be that you’re putting the bunting on. I knew mine would be a 9″ round cake so I wanted the bunting to be 6-7″ wide. I laid out my bunting with the skewers to make sure it would work well with the size of my cake.

Step 4: Then measure your string. You want to have enough hanging from each end to tie the knots, so I laid it out, then cut it with at least 2 inches on each end.


Step 5: Before tying the twine to skewers, let’s glue the flags on! Lay the flags onto your surface face-down, in the order you want them. Then lay the string over them and center it.
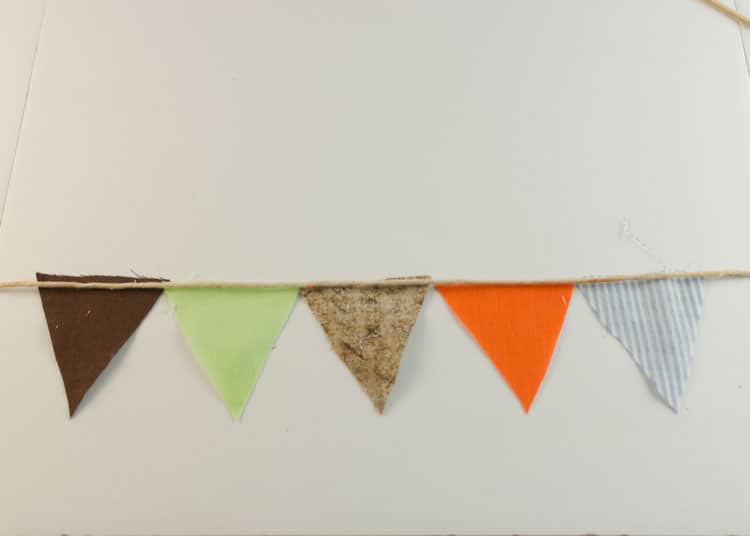
Step 6: Then glue them on. I used a hot glue gun because the glue dries fast. If you want, you could use some sort of crafting glue, like the gorilla glue pictured up top – but it will take much longer to dry. I simply picked up the string off the first flag, applied some glue, then pressed the string into the glue (careful if it’s hot), then moved to the next one.


Then I moved to the next one and repeated… working my way down the line until they were all glued in place. Then let them dry and flip them over!

Step 7: Now it’s time to tie the string/twine to the skewers. I used a simple, single knot. If it’s pulled tight, it’s not going to go anywhere.

If your twine is too long, trim the ends to get the look you achieve.

Step 8: Push the skewers into the cake – I like them best if they’re pushed in at an angle so that they’re leaning out. Also be sure that they’re close enough that the flags hang with a little curve in the middle. If they’re pulled out tight/straight – they look kind of funny… unless you like that look 😉
For you eagle eyes that notice that the flags in the tutorial are not in the same order as the flags on the cake… well I had to make two sets of bunting. I forgot to take all the pics the first time, then when I made it the second time I didn’t think to check and make sure that they were in the same order. Heehee!
If you have any questions about this tutorial, leave me a comment!
Happy Caking,
Rose
I was waiting for this 😉
Yay!