
It’s Autumn here in New England and my backyard is alive with woodland critters. I see chipmunks, deer, squirrels and even black bear! But on rare occasions, I’ll get a peek at a quick moving fox. And this cake topper is dedicated to that magical creature.

This is what I used:
Work surface
Corn starch
Rolling pin
3.5 inch circle cutter
Small oval cutter
Fondant in brown, tan and white
Wood grain impression mat
Black edible marker
Large black sprinkles
White icing writer
Gold shimmer dust and brush
Skewer
Not pictured: stick tool, rolling cutter, leaf mold, small flower cutter

Step 1:
Through some trial and error, I found that my wide tip black edible marker worked best to color my wood grained impression mat.
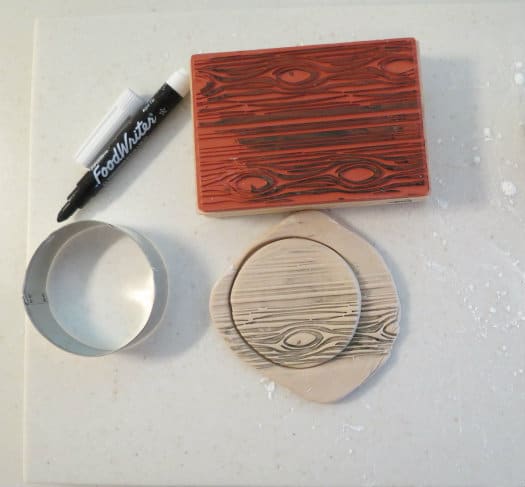
Step 2:
To transfer the texture, I pressed the mat into a piece of tan fondant that I had rolled out. Roll it rather thick since this will serve as a small base for your fox topper. After lifting the impression mat, use the circle cutter to cut your base.
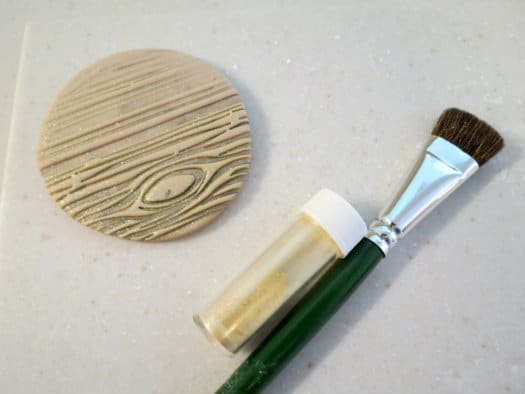
Step 3:
Enhance the look of the wood grained base by brushing it with a coat of edible gold luster dust.
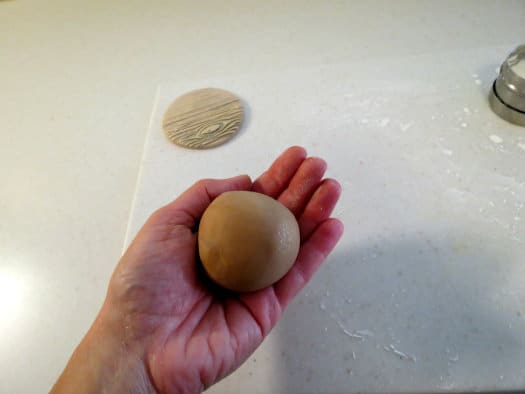
Step 4:
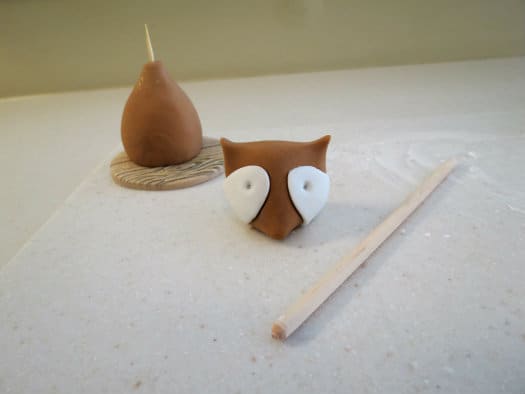
For the body of the fox, roll a smooth ball of brown fondant.
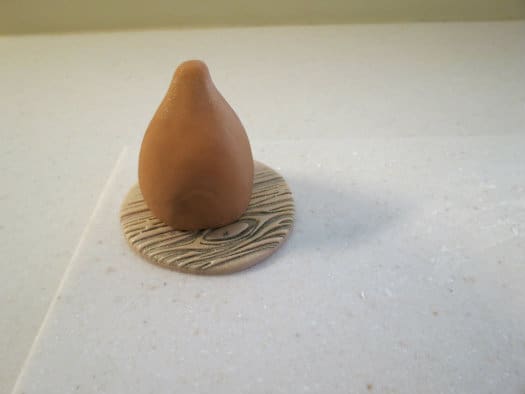
Step 5:
Flatten the bottom of the fondant ball on the counter. Use the palms of your hands to spin it on the counter while pulling it upward into this pear shape. Attach it to the base with water or edible glue.

Step 6:
Cut your wooden skewer to a length that will span the body of the fox and leave an inch sticking out of the neck to attach the head.

Step 7:
Roll a smaller ball of brown fondant to create the head.

Step 8:
Use your thumb and pointer finger to pinch the shape of the ears and snout.

Step 9:
Use the small oval cutter to make impressions where the white patches will go on the face.

Step 10:
Cut out two white ovals and attach them to the face using water or edible glue.
Step 11:
Use a stick tool to make impressions for the eyes and nose.
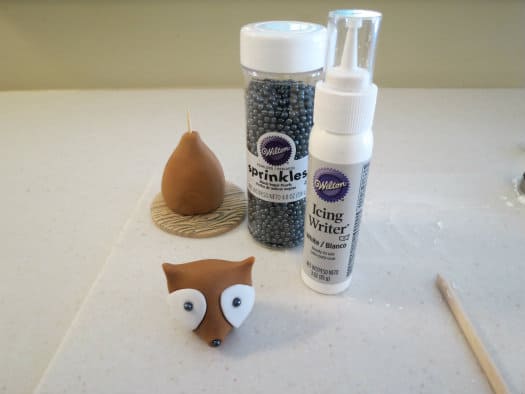
Step 12:
Put a dab of icing writer in each impression and secure a large black sprinkle for the yes and nose.

Step 13: (Optional)
Follow the same process to make an impression for a flower detail.

Step 14:
Cut out a small colorful flower and use the stick tool to secure it firmly in the impression that you made for it.

Step 15:
Using the oval cutter, cut another shape. Secure this white oval on the chest of the fox. Create two small snakes of brown fondant and secure them to the body as the front legs.
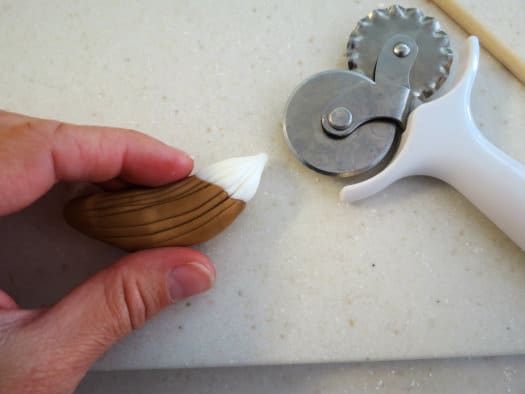
Step 16:
Attach a small piece of white fondant to a larger piece of brown fondant. Shape them into a tail and use a rolling cutter to add texture.

Step 17:
Secure the fox tail with water or edible glue. Allow the body and head to sit overnight to become firm. The next day, add a guide hole to the bottom of the head with a toothpick. Put edible glue around that hole. Use that guide to slowly lower the head onto the neck of the body.

Step 18:
Lower it slowly into place taking care to put it on straight.

Step 19 (Optional):
Adding small details to a cake topper makes it more interesting and special. If you have any small molds (leaves, butterflies, flowers, etc.) use them to add interest to your figure. I used a leaf mold from my collection to create some final details.
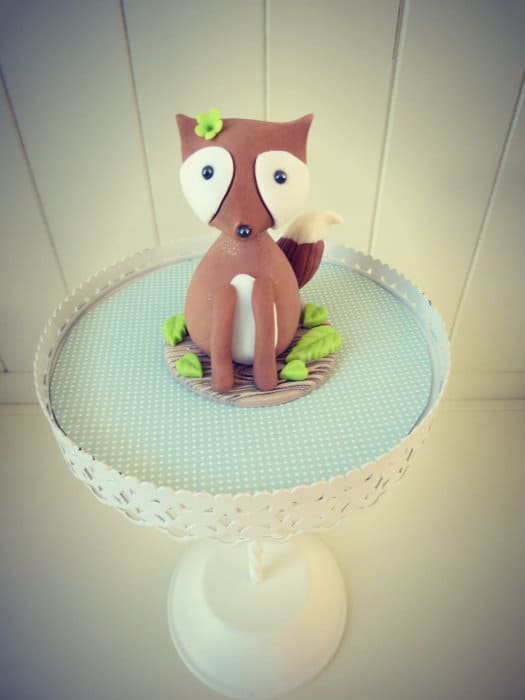
If you enjoy the look of this little fox cake topper, go back into the archives and make some matching cupcake toppers to go along with her!
Happy Caking!
Renée
He’s adorable!! Possibly do-able for me with your tutorial. Thanks for sharing.
Yes, he’s a pretty easy little fellow to make. I’m glad you enjoyed it. I hope you give it a try!
How cute! Love the rubber stamp idea!
Thank you!