
Here is a very simple yet very cute little bumble bee.
Materials needed:
Black, yellow, flesh and white gum paste.
3cm floral wire # 26.
Small daisy cutter.
edible glue and brush.
Tooth pick.
Step #1
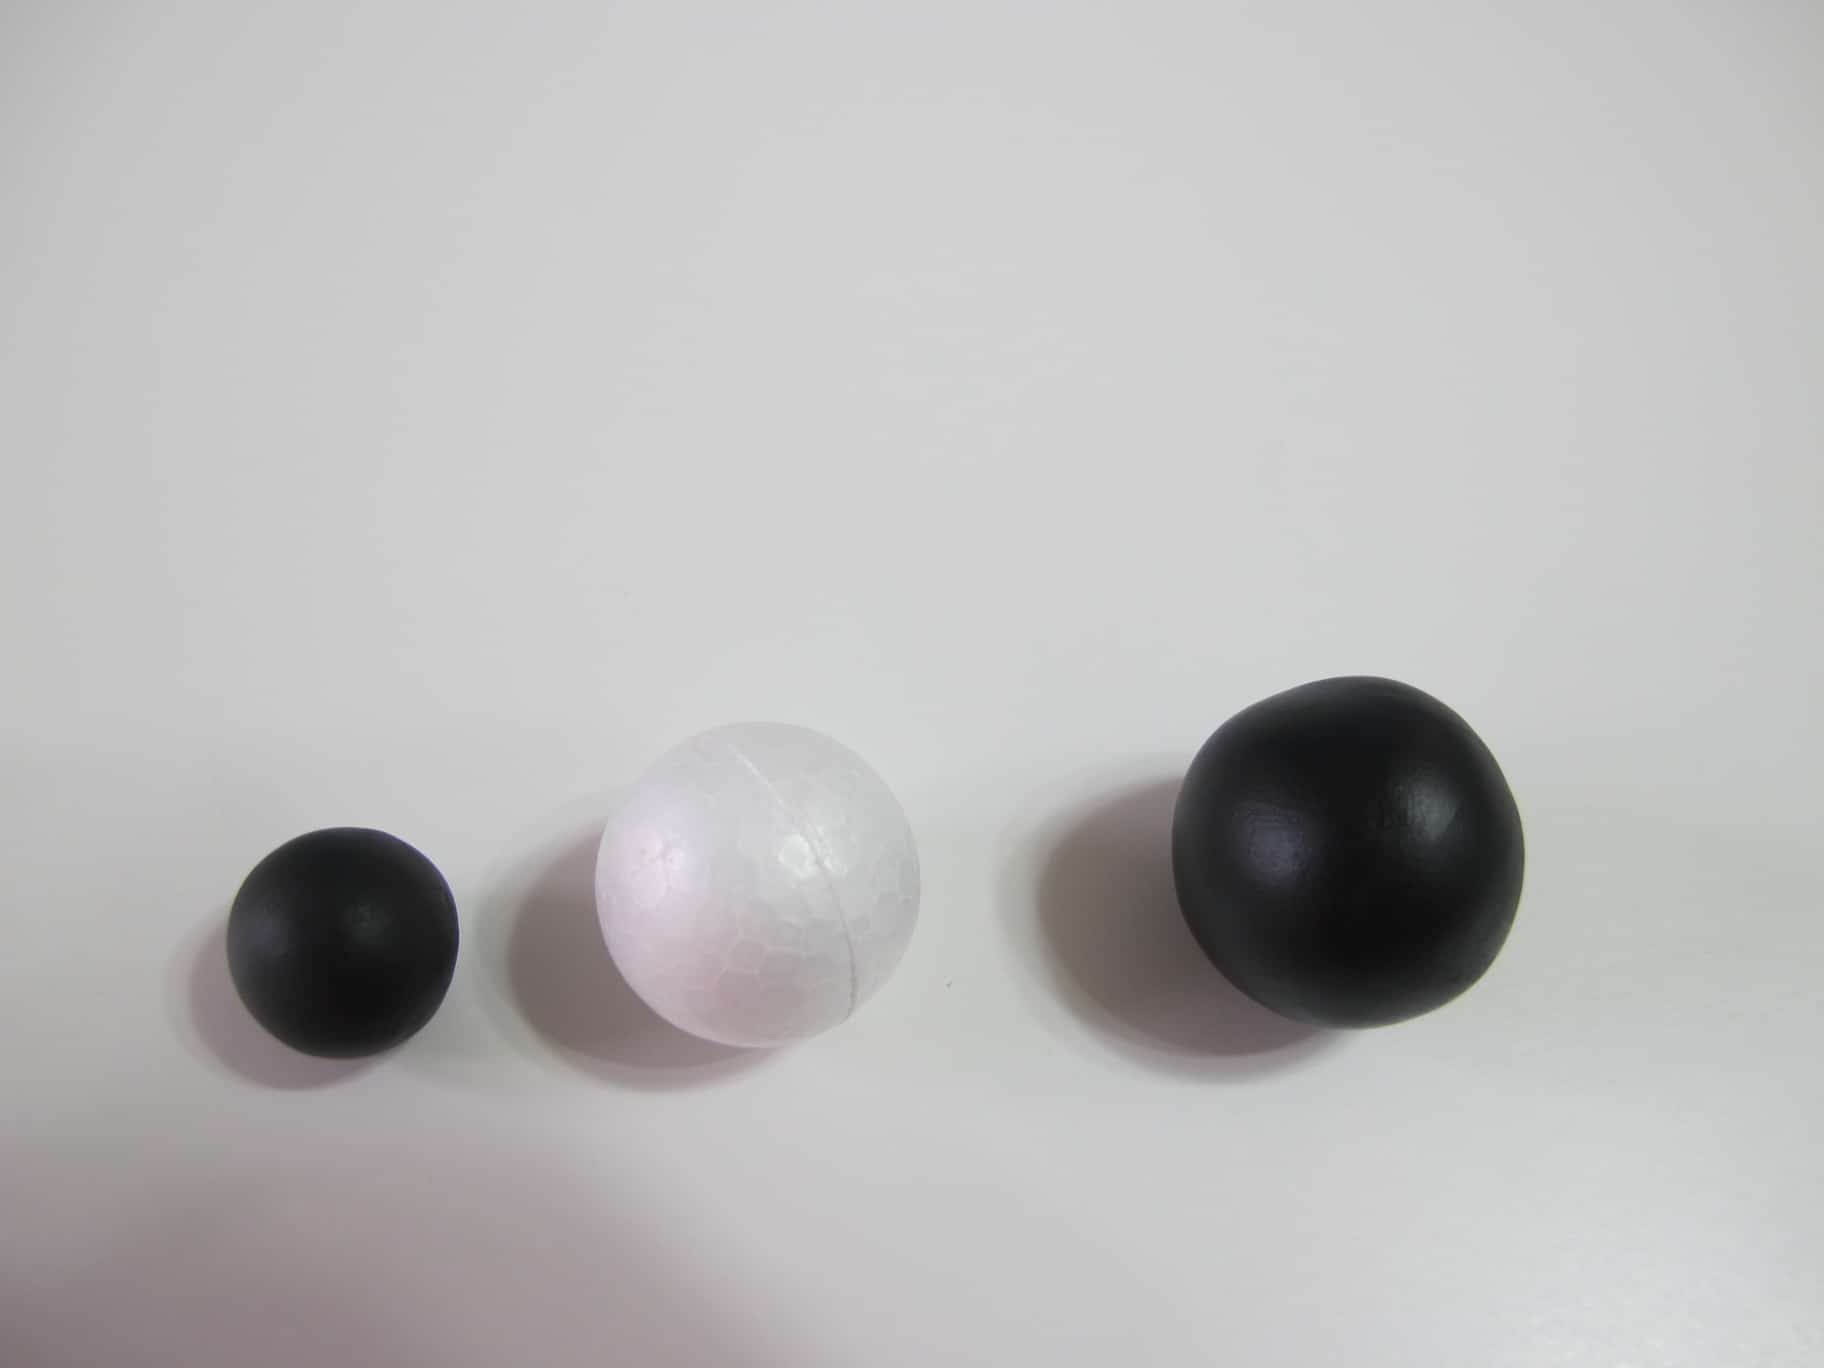
Wrap a 2.5 cm foam ball and make it as round as possible. Let it dry.
Form two cones with sharp ends and bend it in half.

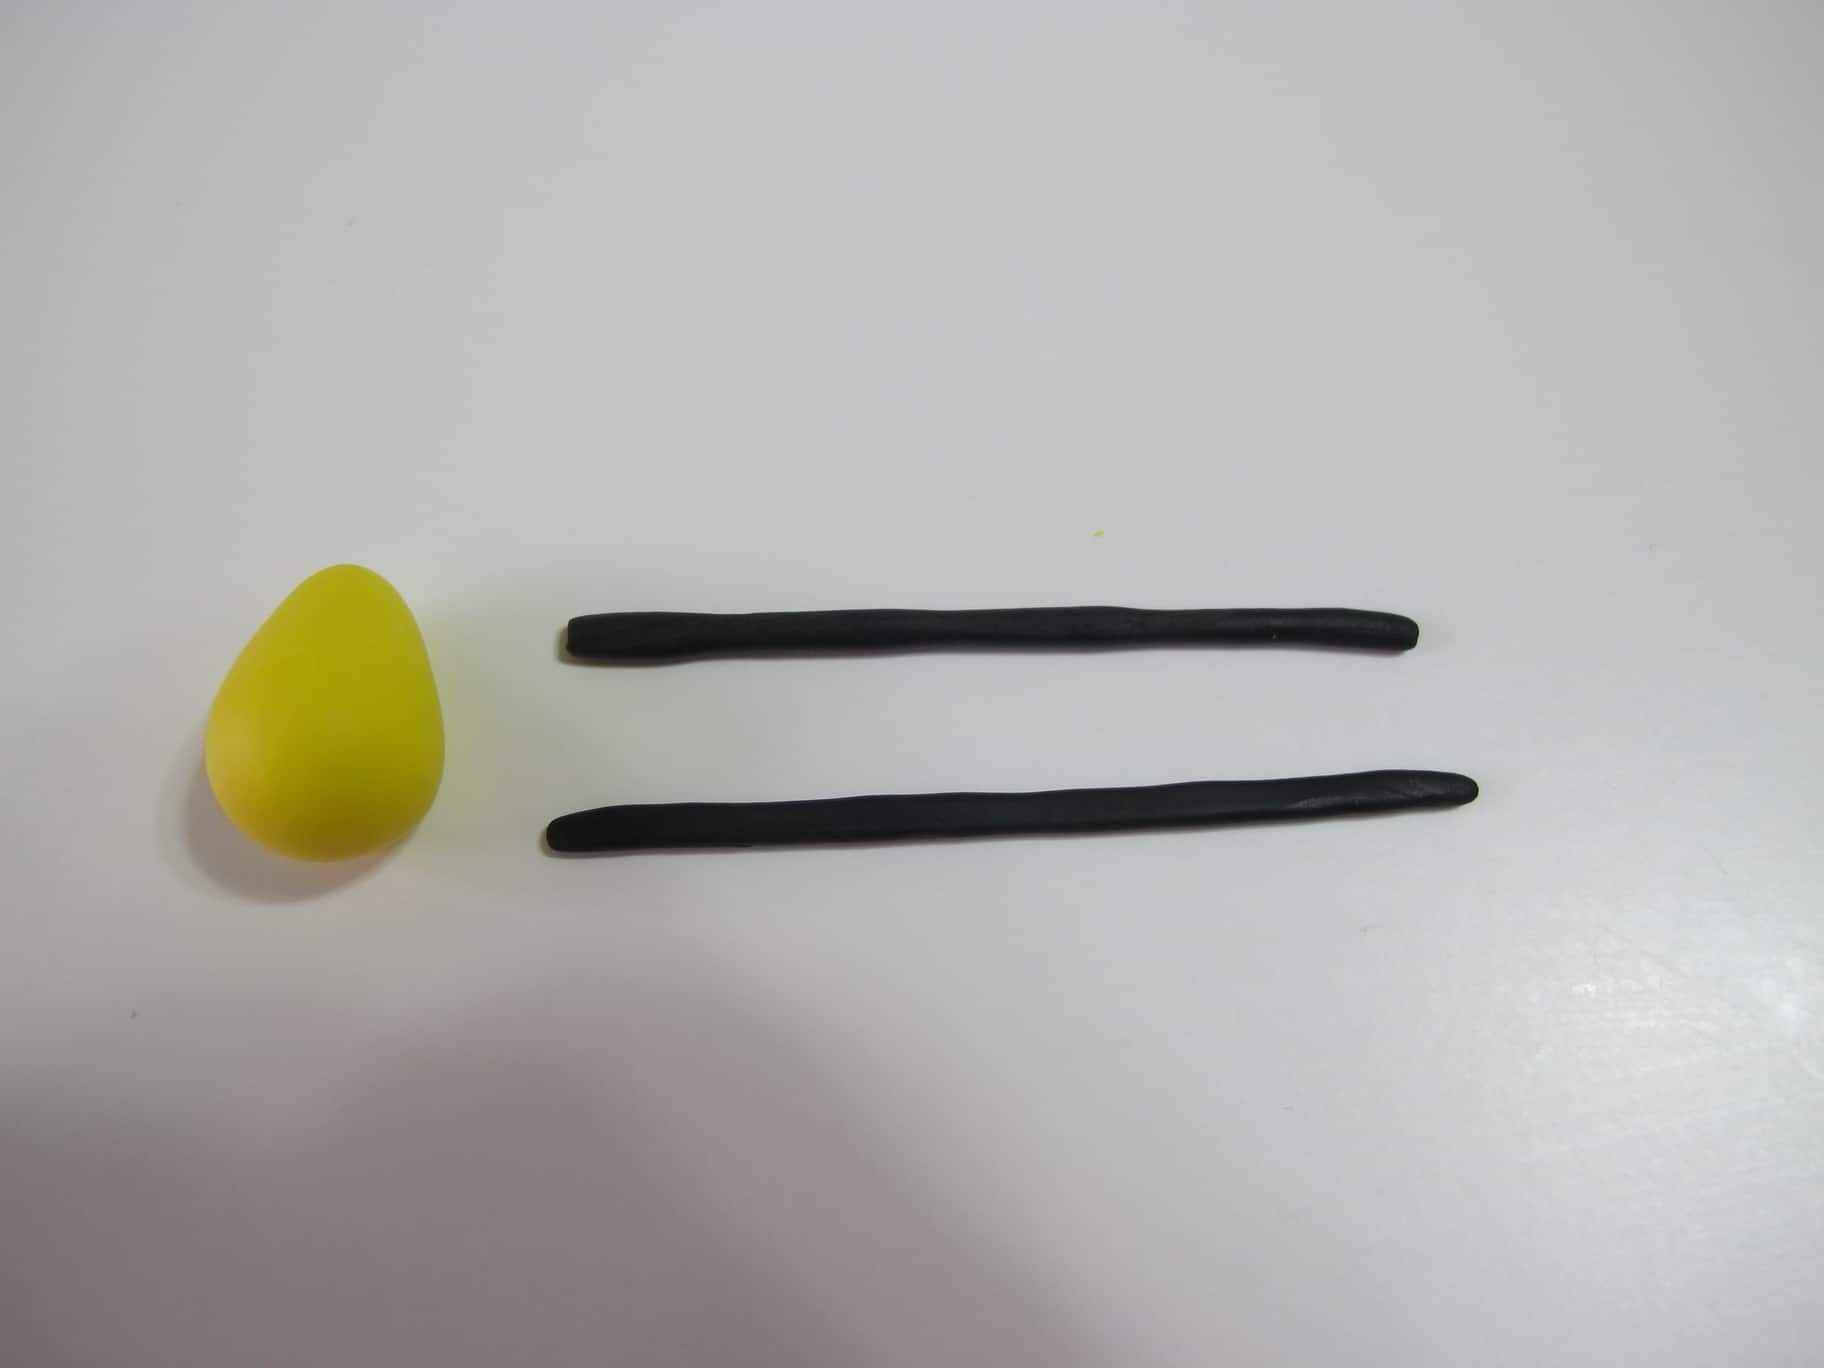
Legs.
Make two sausages ( 2cm each) and pinch the ends to form the base of the feet

Body
With yellow paste form a drop like shape. ( 2 cm)
Roll two pieces of black paste ( 2.5 cm each) to form the body stripes, and glue them as shown.

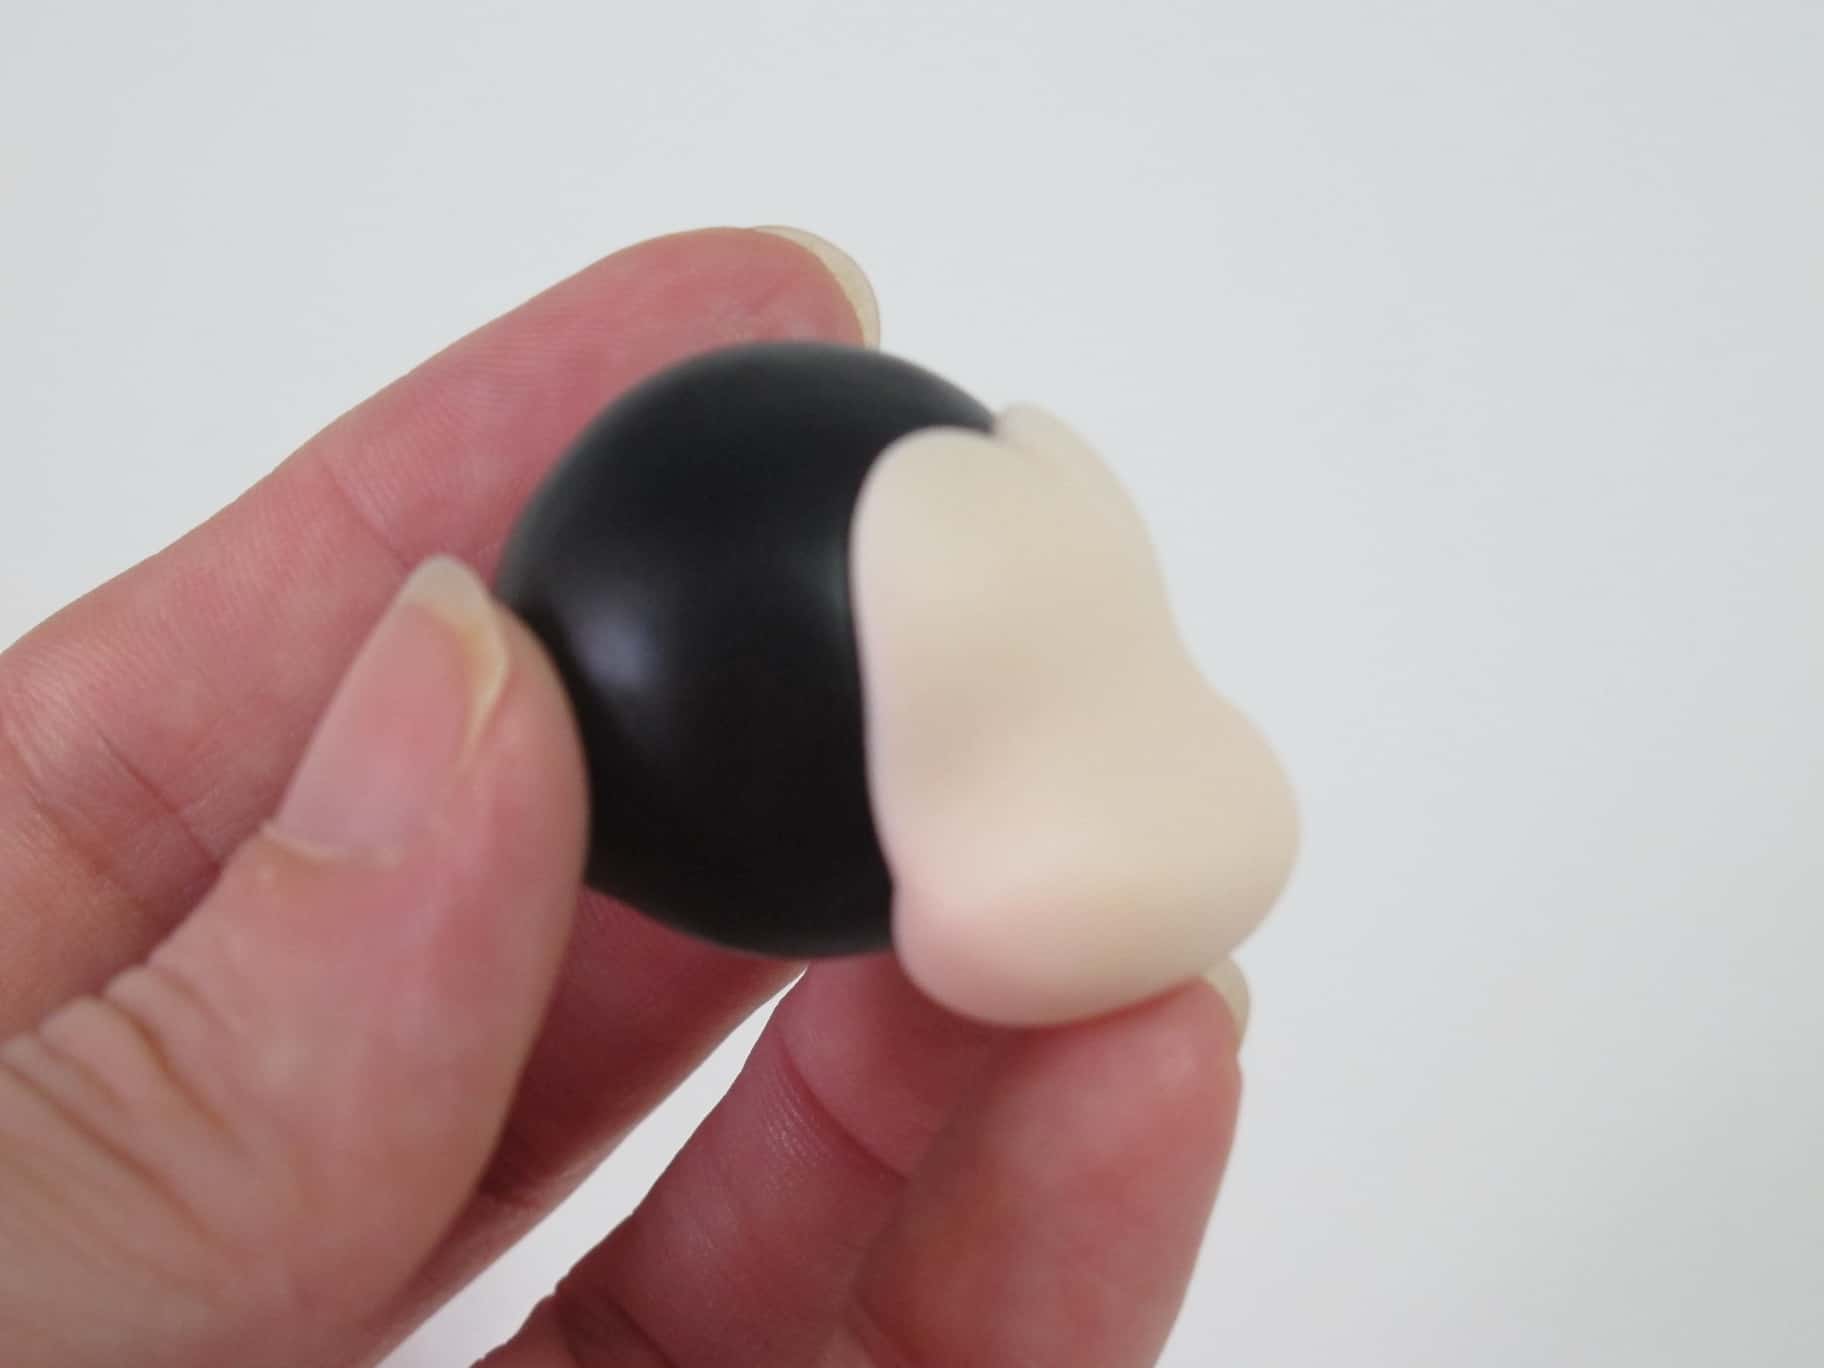
Face
roll a 2.5 cm cone
Place your thumb on the center and and press to make the pointy end flat.
Make a small incision at the center top to separate each side. Shape each side with your fingers as shown.


Apply a bit of edible glue and glue the face in place by gently pressing the edges.

With a small ball tool or the end of a brush,press either sides to open the eyes sockets and the mouth at the lower part.

Roll three tiny pieces of black paste and glue them in place as shown.

Using flesh coloured paste, roll two sausages( 2 cm) and form the arms.
( Wings) Using white paste form two drops and flatten them a bit.

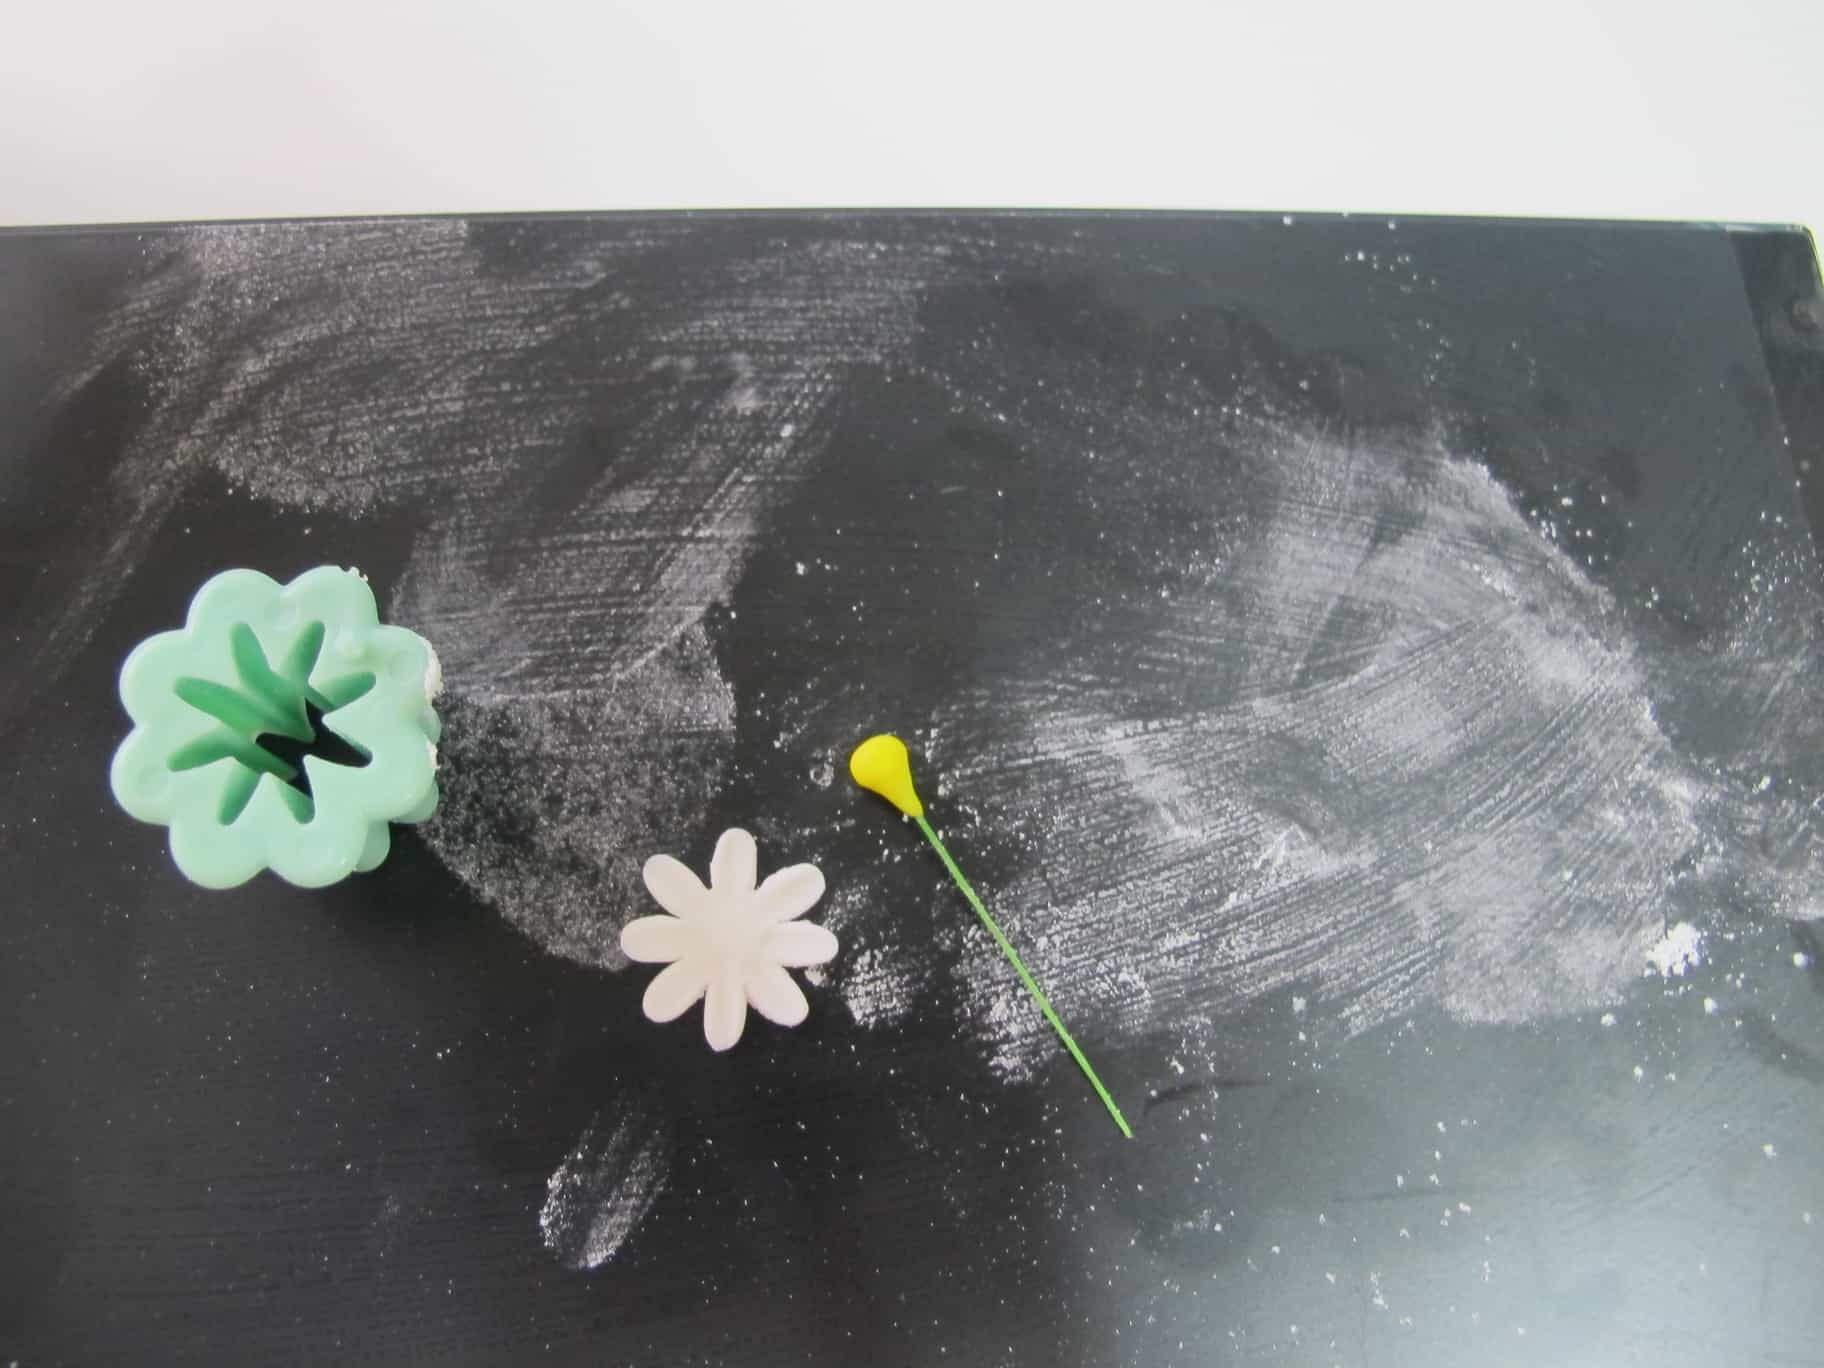
Flower
With a small daisy cutter cut out one flower.
Glue a tiny piece of yellow paste on one end of a floral wire and pinch the base to secure it.
Slide the wire into the center of the flower applying a bit of glue between two parts and press gently.

Now is time to put all the pieces together!
Insert half of a tooth pick on the center of the lower part of the head.

Glue legs to the lower part of the body.
Glue the head in place.

With a skewer or a sharp tool, poke two holes on each sides of the head and insert the antlers.
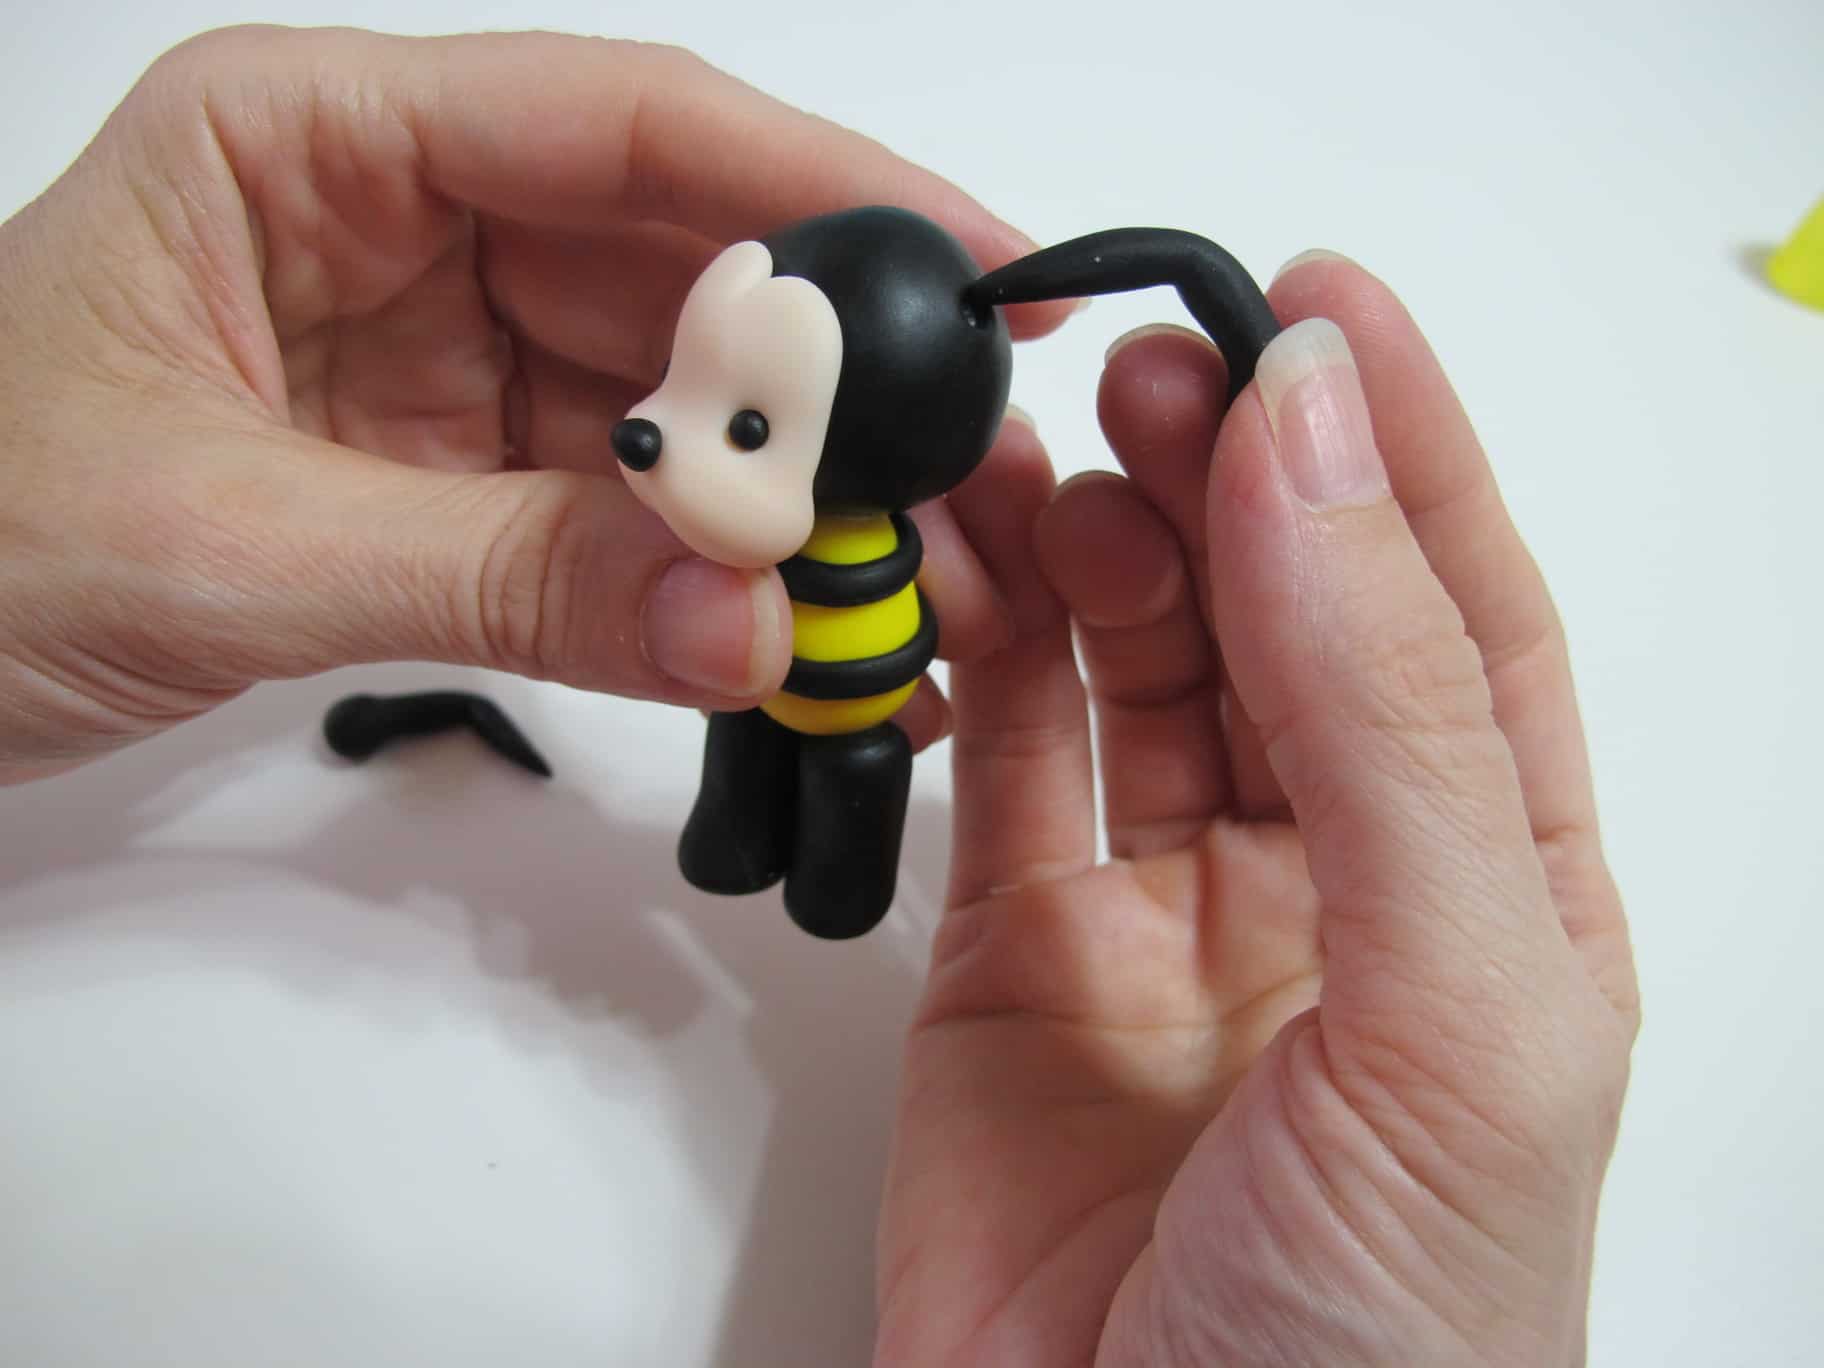
Glue wings in place and we are done!

This little figurine can be used in many wonderful projects such as cupcake topper or part of a cake decoration. Enjoy!
You’re truly an artist! What a cute little bumble-bee! I felt in love with it! I really love it. It’s soooooo cute! I guess kids love this cute bumble-bee too! No doubt about it! Very well done! 😉
Aww…. so cute!!!!
This is really very cute! Need to find something to use it on soon! Thanks for the detailed and simple instructions.
Holy cute!