
As long as I’ve been doing cakes, cowboy themed cakes have been popular! They never seem to go out of style so this week I want to share with you How to Make a Cowboy Hat Cake.
This cake can stand alone (as you can see in my picture) or you could place it on top of a larger cake for more servings or more creativity in the design – such as on top of a Hay Bale Cake or a Bandana Covered cake.
So let’s get started! Here’s what you’ll need*:
- 6″ Half Ball Cake baked in a Wilton Sports Ball pan or another 6″ hemisphere pan
- Buttercream
- Off-set Spatula & Knife
- Brown Fondant (2 shades)
- Rolling Pins (2 small ones)
- Apple Corer
- Fondant Smoother
- Pastry Wheel or Pizza Cutter
- Tylose
- Ribbon Cutter (or knife & ruler)
- 8″ and 10″ cardboard cake rounds
- Shortening
*Please note that these are the things you’ll need for both part 1 and part 2 of this tutorial!!
Step 1: Place your cake onto an 8″ cardboard cake round. You need to do this so you can easily move it around for carving, filling and frosting it.

Step 2: Carve off the sides of the cake – approximately half an inch on each side and 1/3 of the way up. It’s hard to describe in measurements but as you can see below, you’re aiming to get the shape of a hat (minus the brim). I cut with a slight curve to give it the real cowboy hat shape.

Step 3: You could possibly skip this step, but since this cake was going to stand alone and not be sitting on top of a larger cake, I wanted to fill it with frosting. I cut the cake in half cross-ways and filled it with a generous pile of buttercream.
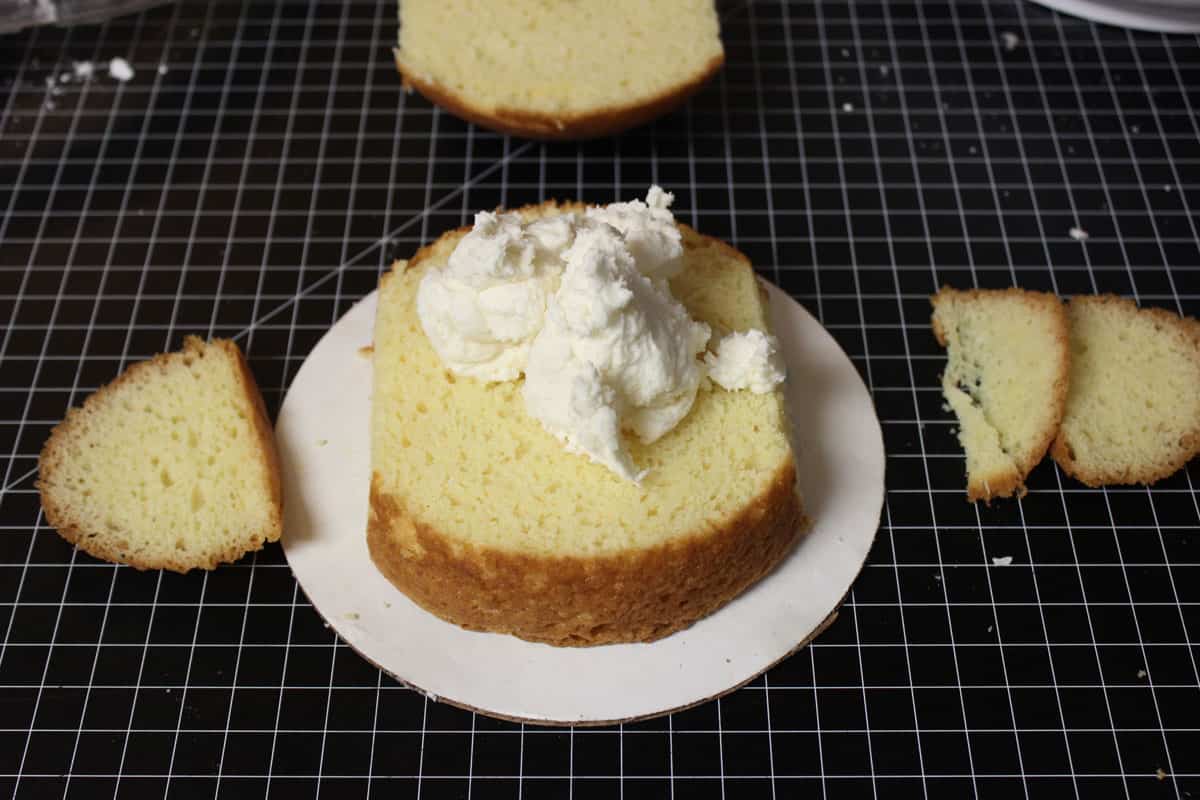
Step 4: Put the top back on and smooth it out on all sides.

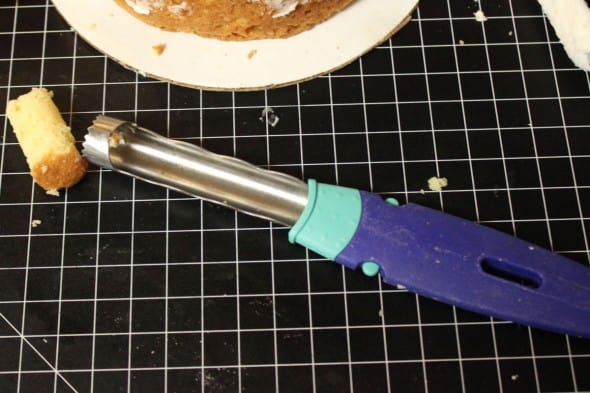
Step 5: Now you’ll need to take an apple corer and shave out the top of the hat, going parallel to the sides you cut off. You could also do this with just a knife, but the apple corer gives the top of the hat the perfect rounded center.

Here’s a better picture of the apple corer:
Step 6: Now you’ll want to crumb coat the entire surface of the hat. I used my off-set spatula to do this.

Step 7: This cake is going to be sitting on the brim part of the hat, so after all the carving and frosting was done, I cut off the excess cake board from around the bottom.

Step 8: After it was completely covered and the board trimmed, I popped the cake into the refrigerator or freezer! You’ll want to let it chill in the frig for several hours or put it in the freezer for 20-30 minutes.
Whew… you’re halfway there! Stay tuned for part 2 of How to Make a Cowboy Hat Cake!
Happy Caking!
Rose
Leave a Reply