
With the 4th of July coming up, I wanted to share with you a tutorial for this Easy Patriotic 4th of July Cake! If you’re like me, you’ll want to have a fun or special dessert for your holiday get-together, but nobody wants to spend hours in the kitchen prepping!
Well this cake is for you. After it’s baked, it takes no more than 10-15 minutes to decorate and the overall effect always gets a lot of WOWs! Plus you can make it the day before and have one less thing to do on the 4th!
Start by mixing up a batch of white cake batter. You could follow the directions on a box of cake mix, use a totally from-scratch recipe, or do what I did… use a doctored cake mix which keeps it easy but makes it a little more special. I used this recipe for white almond sour cream cake.

Once you have the batter ready, divide it equally between 3 bowls. Using red and blue food coloring – change 1/3 of the batter to red and 1/3 to blue – leaving the third bowl white. Then spread the batter into 3 prepared pans and bake at 325°F for 30-35 minutes (varies with different ovens). I baked mine in 7″ round pans so I’d have a little more height, but you could also use 8″ round pans.

Once your cakes are baked, stack them up with a thin layer of buttercream between each layer and crumb coat the whole thing. My favorite recipe is this vanilla buttercream but any white frosting recipe should work! You could also try this recipe for Italian meringue buttercream that would be delicious!
Then scoop out 3 bowls of frosting (1/2 to 1 cup each will be more than enough). Leave one white, then color one red and one blue. To do the decorating, you’ll need a small offset spatula and a bench scraper. A turn-table will also make the job easier!
*Note – for this tutorial I actually just spread the frosting on with an off-set spatula but you could also pipe it on. You can see how I do that in this Candy Corn Cake Tutorial.**4

I stacked my cakes blue, then white, then red (from bottom to top), so that’s how I wanted to do my frosting. I started by spreading on a layer of blue frosting all around the bottom third of the cake. It doesn’t have to be perfect – just try to cover all the white!
Then repeated the same process for white frosting:

Again, your frosting doesn’t have to be super neat because it’s going to all be smeared & smoothed together in just a minute.
For the red frosting, cover the top third of the side and then also the top:


When you’re done, grab your bench scraper and while turning the cake, smooth out the sides.


It’s hard to demonstrate in pictures, but I turned the table around and around at least two full turns smoothing the sides, then smoothed off the top edges. Once that’s done – you’re all finished!
I moved the cake (using my off-set spatula) to a cake plate. Well… I did add one more detail:

Edible Glitter Silver Stars! If you don’t have or can’t get the glitter stars, you could also use silver sprinkles or silver sugar!
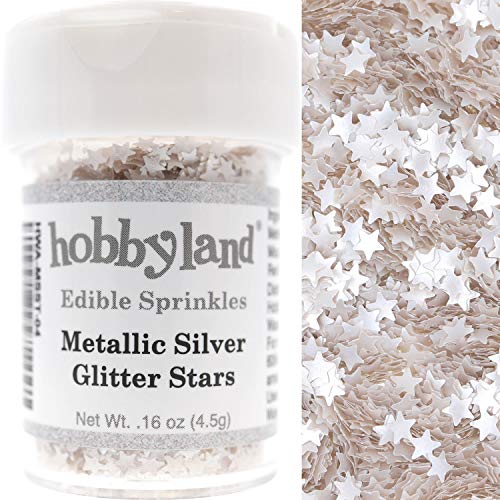
- Edible Glittery Stars, Shiny Metallic Gold Glitter Stars, Net Weight 4.5g. Also known as Edible Confetti. The stars are packed into jars based on Net Weight. There are 4.5 grams of stars packed into each jar. The stars are irregular shaped and sometimes are packed more flat and tightly into the jars appearing half full.
- USES: Decorative topping on baked goods, candy, desserts and drinks. Use on top of candy, candy coatings, frostings, icings, fudges, donuts, chocolates, ice creams, chips, popcorn, yogurts, smoothies, cookies, cakes, cupcakes, marshmallows, pies and whipped cream.
- DIRECTIONS: The cap has a closure for sifting. Sift flakes onto your dessert until your desired decorative topping effect. Coverage: Compared to traditional sprinkles you will need much less to cover the same product. Usage on a standard-size cupcake is 20 – 40 mg.
- WATER SOLUBLE: This glitter dissolves in beverages, sodas, spirits, liquids and water. TASTE: There is no taste. Sugar Free.
- MADE IN USA

And that’s it! This cake is super easy and really a beautiful representation of our Stars & Stripes… inside and out!

Happy Caking!
Rose
looks awesome
This cake looks delicious – makes we want to celebrate the 4th of July here in England!
So pretty! Just in time for the 4th! Love that. 🙂
Thanks!