
This is a neat little method for making shoe boxes, which look great in piles on top of fashion-inspired cakes or as cupcake decorations. They can be made using any size of rectangular cutter and can also be adapted to make present boxes by using a square cutter and adding a little bow on top.
This is what I used:
1:1 ratio flower paste:sugarpaste or your chosen modelling paste
Flower paste
Gel paste in your chosen colour (I chose Sugarflair Extra Red)
Non-stick board
Foam mat
Sharp knife
Ball tool
Rectangular cutter (mine was 3 cm long)
Edible pen or edible food colour for painting (your choice of colour, so long as it stands out against the colour of your modelling paste)
Paintbrush and water or alcohol for sticking
Step 1:
Mix the modelling paste to the colour you would like your shoe box to be. I chose a bright red colour. The amount that you require will depend on the size of boxes you are making. For my 3 cm rectangular cutter, this is enough for about half a dozen shoe boxes.

Step 2:
Roll the modelling paste out to a thick, even layer. For a good box shape, this should be about half the length of the cutter.

Step 3:
Use the cutter to make an impression in the modelling paste. Unless you have a very deep cutter, you won’t be able to cut the shape out with the cutter, so this is a guide for where you need to cut with your knife.

Step 4:
Cut out the rectangular shape with your knife. The edges might not be perfectly neat and square so make sure you smooth and trim them to create a perfect rectangle.
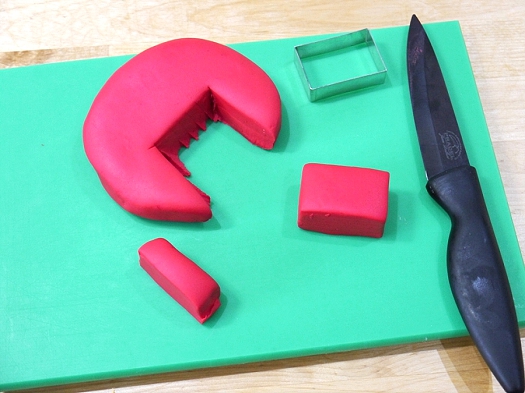
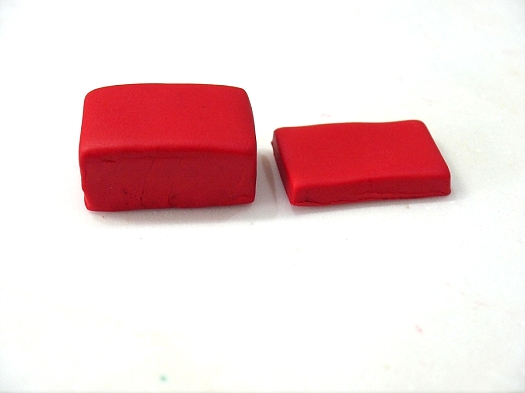
Step 5:
Roll out a much thinner sheet of modelling paste (about a third the thickness of the first sheet). This is for the lid.

Step 6:
Use the same rectangular cutter to cut out the lid. I stamped out the shape and then peeled away the excess modelling paste before removing the rectangle from the cutter so that the shape didn’t become distorted.
Step 7:
Allow box the base and lid to dry for at least a few hours. They don’t need to be completely dry but must keep their shape when handled.
Step 8:
Roll out a very thin sheet of flower paste and cut out three rectangles for every box that you have made, using the same cutter as before. Make sure your rectangular cutter is clean so that the box colour doesn’t contaminate the flower paste.
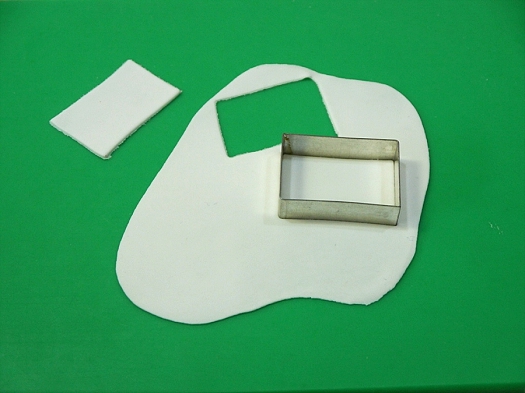
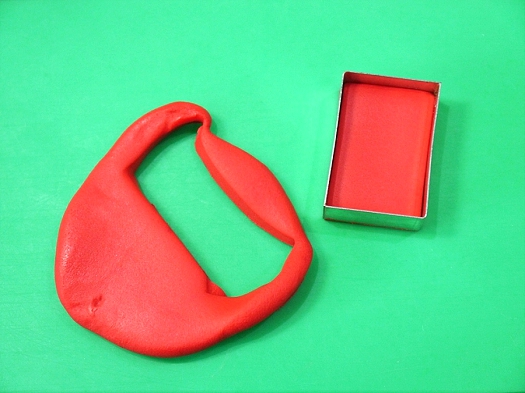
Step 9:
Using a ball tool, soften and ruffle the edges of the flower paste rectangles. Don’t worry about keeping the overall shape rectangular, just so long as the edges are nice and thin.

Step 10:
Gather and concertina the ruffled rectangle to form a fan shape. Trim off any excess at the gathered point so that you end up with a ruffled and folded semi circle.

Step 11:
Dampen the box base with water, alcohol or sugar glue and stick the ruffled piece on top so that the folds overhang the edge slightly. The look you are aiming for is a shoe box bursting with tissue paper.

Step 12:
Repeat with the second scrunched rectangle, which should cover one half of the remaining area.

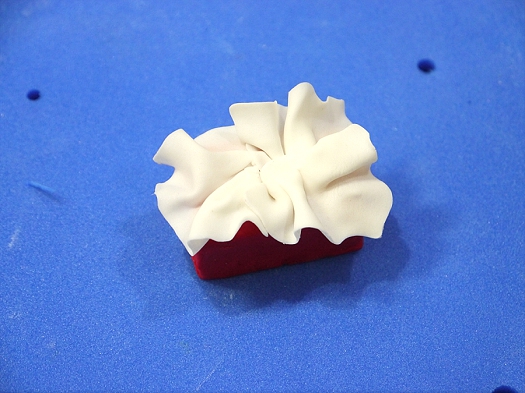
Step 13:
Add the third and final scrunched rectangle to fill the rest of the space on top of the shoe box base. You can also use this piece to help create a flat area at the centre of the shape to attach the lid to.
Step 14:
Add a label, brand name or decoration to your shoe box if you wish. I used an edible pen but you could also pipe details using royal icing and a very fine tip, or paint lettering using edible food colours.

Step 15:
Add a little water, alcohol or sugar glue to the centre of the tissue paper and attach the lid. I put mine on at a slight angle but you don’t have to. You could also use some of the tissue paper to prop the lid up so that it sits at an angle.

Surround the shoe box with other shoe boxes in different colours, mini gumpaste shoes, fashion accessories, make up themed cupcakes and other details for a really girlie theme.
Happy caking!
Beth
Leave a Reply