There are different methods of marbling fondant and everyone has their own preference.
So, try out the various methods and see what works best for you.
I think it’s a really good technique to have under your belt since it’s easy and creates eye-catching results.
I will also be sharing how I cover my cakes in fondant since some of you have requested to see how I do it 🙂
To do this technique, you will need the following supplies:
Dark brown fondant
Light brown fondant
Pizza cutter
Rolling pin
Avocado marble cake (I used this recipe to make a round cake instead of a loaf cake)
Chocolate buttercream icing
Chocolate kisses
Here are the instructions:
Step 1
Prepare two balls of fondant which are equal in size.
Use brown gel coloring to tint one ball a dark shade and another one a lighter shade.

Step 2:
Roll out the two balls into long ropes.
Align them together.

Step 3:
Arrange the ropes into a spiral shape.
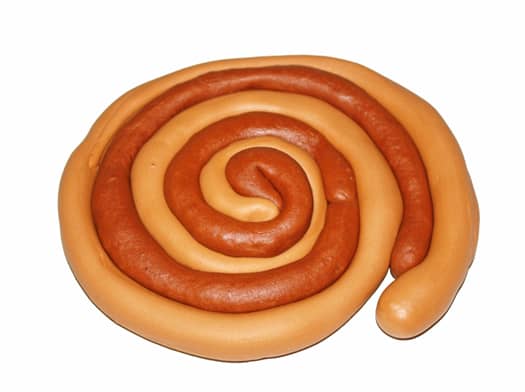
Step 4:
Now, knead this spiral piece randomly until you see swirls of the two colors.
Be careful not to blend the two colors completely.

Step 5:
Use a rolling pin to simply roll out the fondant and you will end up with a beautiful marbled effect.

Step 6:
Frost your cake in icing.
Then spread the marbled fondant on top your cake.

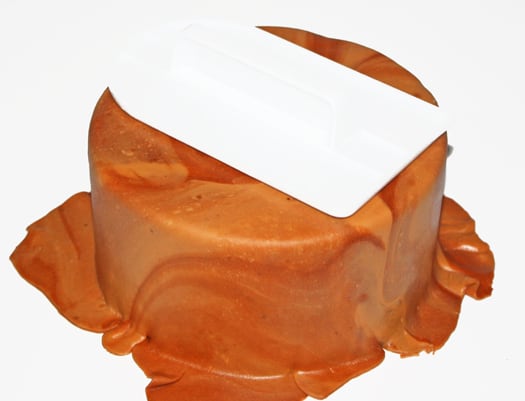
Step 7:
Cut off excess fondant with a pizza cutter.

Step 8:
Use a fondant smoother to smooth out the creases on the cake.
Step 9:
Cut off excess again with a pizza cutter.

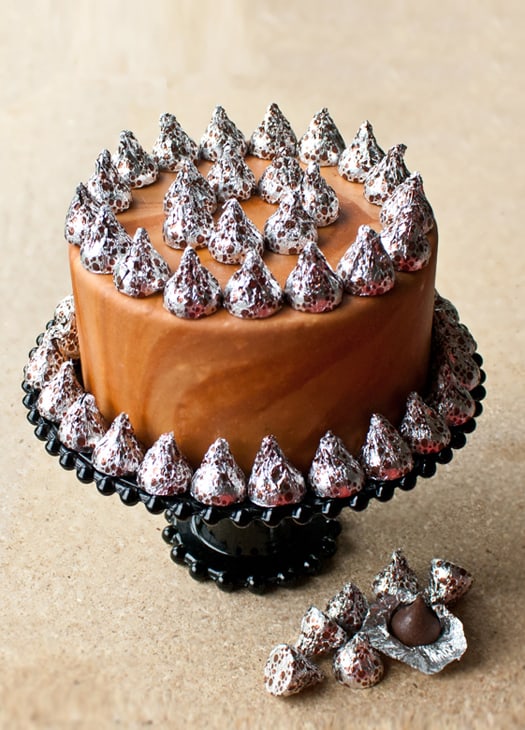
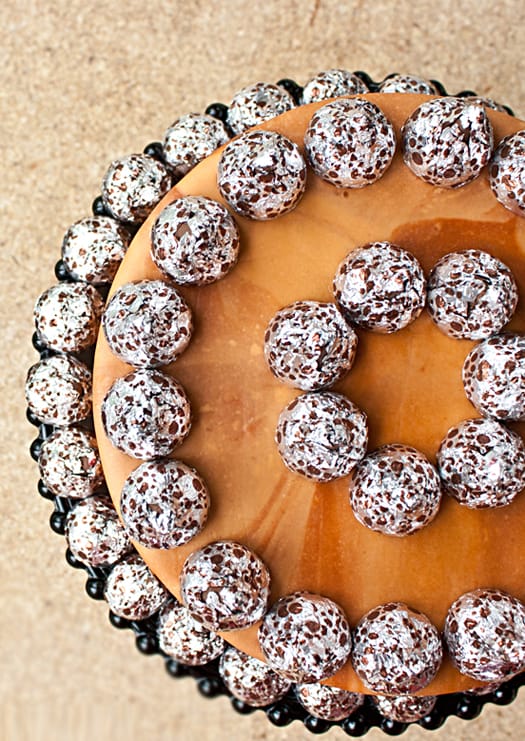
Just decorate the cake with some Hershey’s kisses.
And you are done!
Now that you know how to make marbled fondant, you can use it to give your cake a little style. I hope you enjoyed this tutorial.
Happy caking everyone! 🙂
This marble cake looks amazing I have to try it looking forward to it