
These fabulous new push pops are taking the world by storm. They are beautiful to look at, they are less messy than a piece of cake or a cupcake at parties and easier for little ones to hold, and come with lids so even if they are unfinished can be stored and eaten later. I love them.
You will need:
• Push pops.
• 4x 6” sandwich pans. I bought 4 of these for 89p each from Asda supermarket in the UK. (Asda, Product Code: 2844131)
• Sponge cake mix (see below)
• 4 gel/paste colours (I have used red, blue, green and yellow by Wilton)
• Piping bag and tip (star or round work fine). I have used a 1M star tip in this tutorial.
• A 4.5cm round cookie cutter.

Step 1
Divide the cake mix into 4 equal parts colour one red, one, blue, one green and one yellow. Grease and line the 4 sandwich tins and pour each colour into a tin and bake for approx 25 minutes at 150ºC/300ºF/Gas 2 or until a skewer inserted come out clean. Turn out on a wire rack to cool.

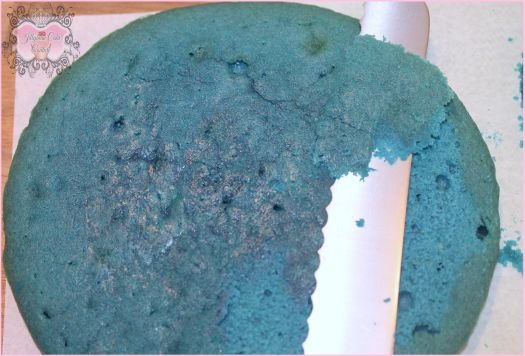
Step 2
Using a bread knife trim off the crust from the cake.
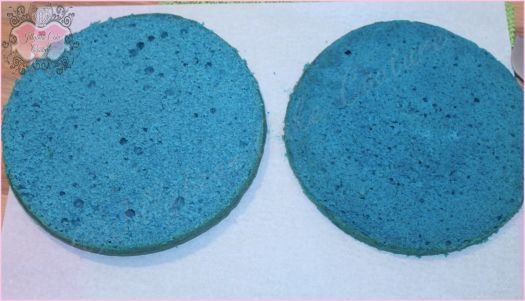
Step 3
Split the cake in half to make two.
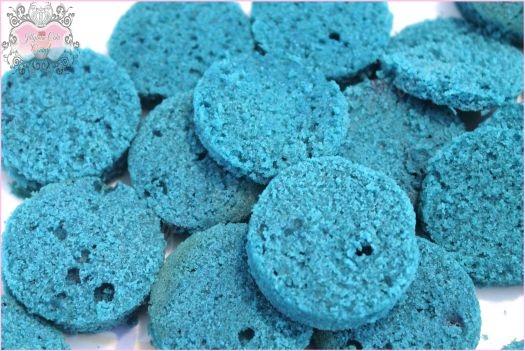
Step 4
Taking your cookie cutter, cut out approximately 8 circles per half cake. (I used the straight, non ruffled edge to cut out the sponge rounds).

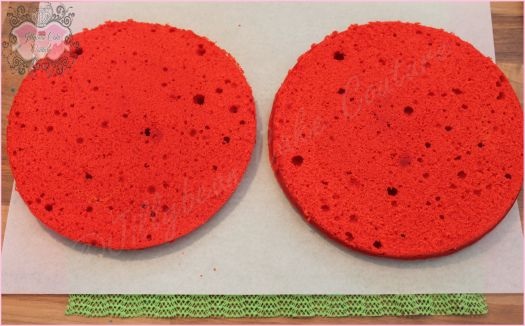
Step 5
Repeat steps 2-6 again for each coloured sponge cake.
Until you are left with this:
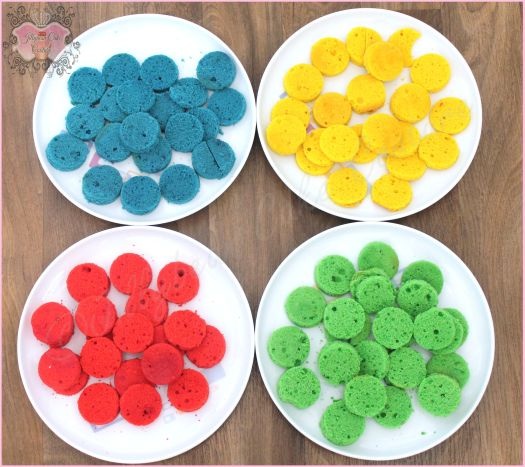
You will be left with a fair bit of wastage….. DO NOT THROW AWAY! These are perfect for cake pops. Store them in a plastic freezer bag and freeze until needed.
Step 6
Take your piping bag (fitted with a 1M tip) and fill with buttercream.

You could also colour the buttercream for an even brighter rainbow effect if you choose.
Step 7
Firstly, make sure that your push pop is in the correct position with the base pushed down to the bottom.
Then taking one of the coloured cake rounds, gently push it into the cake pop right to the bottom and inside the base.
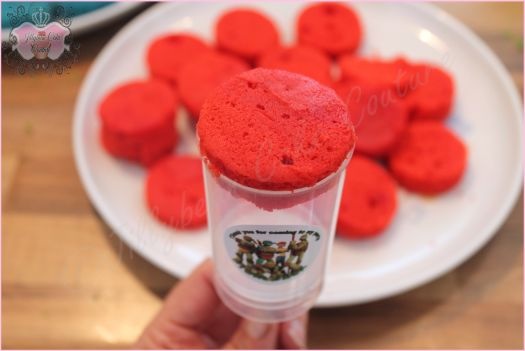
Until it looks like this:

Step 8
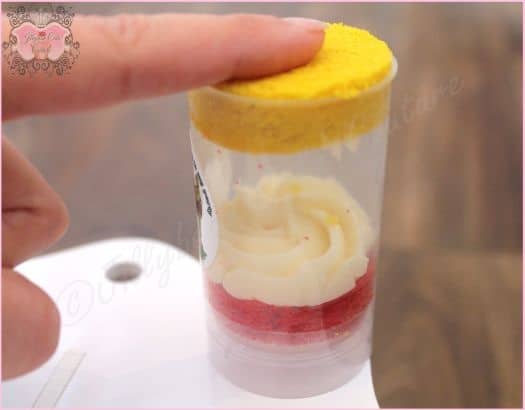
Pipe a buttercream swirl on the top.

And continue by placing another coloured round on top of the swirl pressing gently down to secure.

Step 9
Repeat steps 7 and 8 alternating coloured sponge rounds, so that you have one of each colour, with a piped swirl of buttercream between each tier and finish with a buttercream swirl on the top.
You could also put some hundreds and thousands/sprinkles on the top for added colour and sparkle if you choose.

Push pops are supplied with lids, but its optional whether you choose to use them or not.
If using lids don’t do your final buttercream swirl too high as when you put the lid on, it will squish it.
Have fun baking!
Love Gillian xxx
they look awesome, where is the best place to buy the push pops? online or in shops?