
I love cake pops as much as the next person, but sometimes I want to shape them into something more clever than a ball. Instead of spending time shaping them by hand, I love to use a chocolate sucker mold which saves time and always looks like a total pro did it without all the fuss.
This recipe makes approximately 15 cake pops. So, to get started:
YOU WILL NEED:
(1) 10 oz. Store Bought Pound Cake (Such as Sara Lee)
(1) 16 oz. tub store bought icing
Yellow Candy Coating
White Candy Coating
Mixed Non-Pareil Sprinkles
Ice Cream Sucker Chocolate Mold
Paintbrushes
STEP 1: MAKE THE CAKE POP FILLING
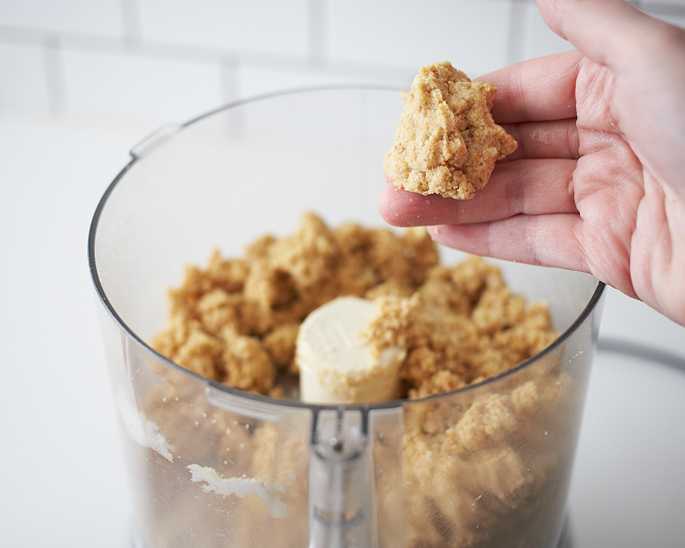
To start, the pound cake should be at room temperature. Cut the pound cake into cubes and put it in the bowl of a food processor. Then, pulse the cubes a few times until you have course crumbs. Add about 1/3 of the tub of frosting and pulse a few times until mixed.


STEP 2: Once mixed, the mixture should just hold together when you squeeze it, but not be too mushy. Add a little extra frosting if necessary. Once the mixture is finished. Set it aside.
Step 3: COAT THE CHOCOLATE MOLD
Get the rest of your ingredients together. Put the white and yellow coating discs in two separate bowls and microwave them for 30 seconds. Take them out and stir and then continue to do the same intervals until they are completely melted. (Do not overheat the coating or it could burn!)

STEP 4: Next, dab blobs of melted yellow coating on the “cone” area of the chocolate mold until you’ve created a shell about 1/8″ thick. When all the cones are done, place the mold in the fridge for 5 minutes until the shell is hardened.

STEP 5: Repeat the same process using the melted white candy coating. Once again, place the mold in the fridge for 5 minutes.

STEP 6: Hold the mold up to the light and use some additional coating to touch up any spots that you think look weak or that you can see a lot of light through.

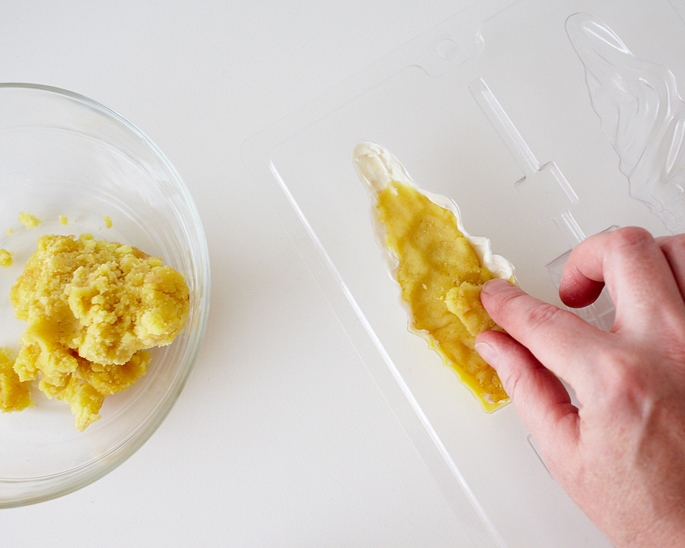
STEP 7: ADD FILLING AND SEAL THE MOLD
Push a small scoop of cake pop filling into the mold. Make sure that you don’t overfill it and leave about 1/4 gap so that you can fill the rest with chocolate.
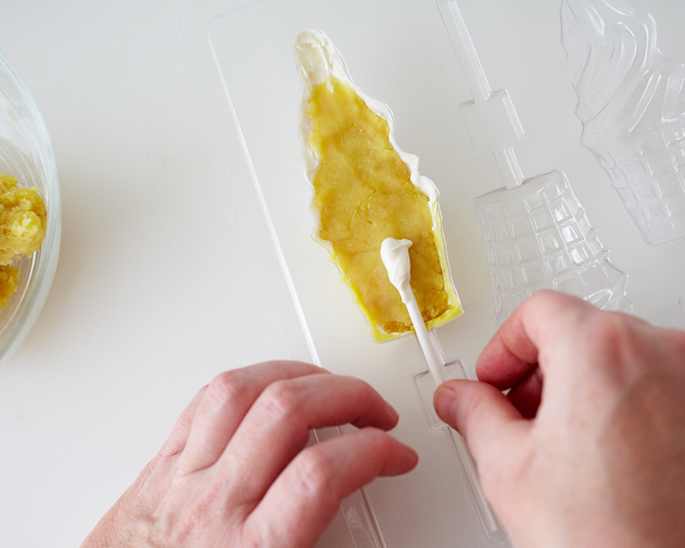
STEP 8: Next, dip a sucker stick into some melted coating and place it in the mold, making sure to push the coated end into the filling.
STEP 9: Fill the rest of the mold by spreading coating on the back. Keep the edges of the mold as clean as possible to make sure the pop looks neat when it comes out.

STEP 10: This time, place the mold in the freezer for 10 or 15 minutes until the whole thing is firm and then pop the suckers out of the mold.
STEP 11: Dab some more melted white coating in areas of the ice cream where you want the sprinkles to stick. Immediately sprinkle the areas and shake off the excess. Voila! Now you have yourself an awesome Soft Serve shaped cake pop!


We made these last night and they turned out perfectly!! Great idea 🙂
This is just adorable and looks like so much fun 🙂