
These pine cone shaped cake bites are not only the simplest treats to make, but are perfect for any fall or winter dessert table. A shaped chocolate mold takes the guess work out of creating these little “nods to nature” and the flavor is very easily customized with your favorite candy or cake pop filling. To finish them, add a touch of sparkle with luster dust and these glittery little sweets will be the hit of the party.
YOU WILL NEED:
Pine Cone Chocolate Mold
Chocolate Candy Coating Discs
Cake Pop Filling
Copper Luster Dust
Small Offset Spatula
Paintbrushes
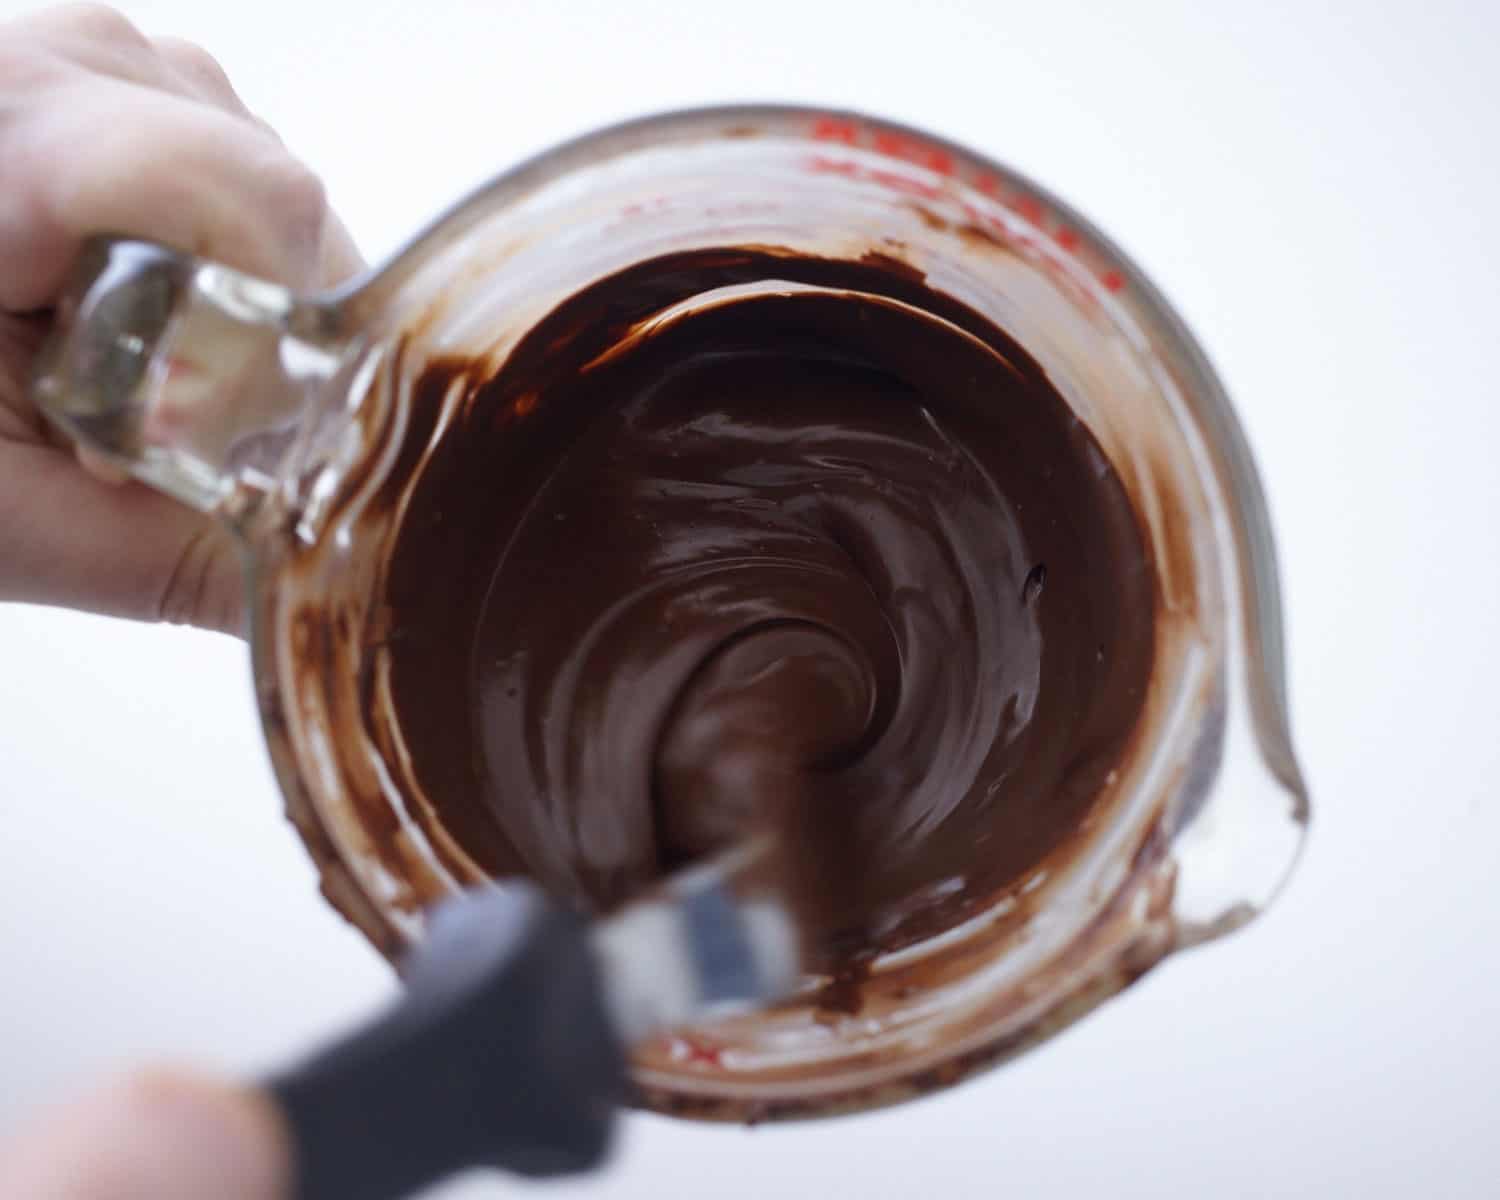
Start by placing some of your chocolate candy coating discs in a microwaveable container. Heat the discs on half power and stir every 30 seconds until the discs are melted. This will take a few minutes. (Be sure not to overheat the discs or they will burn and be ruined)
 Next, use a paintbrush to dab a layer of melted coating inside the chocolate mold cavities until you have a shell that is about 1/4″ thick. Place the mold in the fridge for 5 minutes to harden. Remove it from the fridge and then hold it up to the light and use some additional coating to touch up any spots that seem thin or weak. (Depending on how fast you work, you may have to reheat your coating a bit while working if it starts to harden)


Then, press some cake pop filling into each cavity. Make sure that the filling isn’t higher than the top of the mold so that you have room to seal the backs of each bite.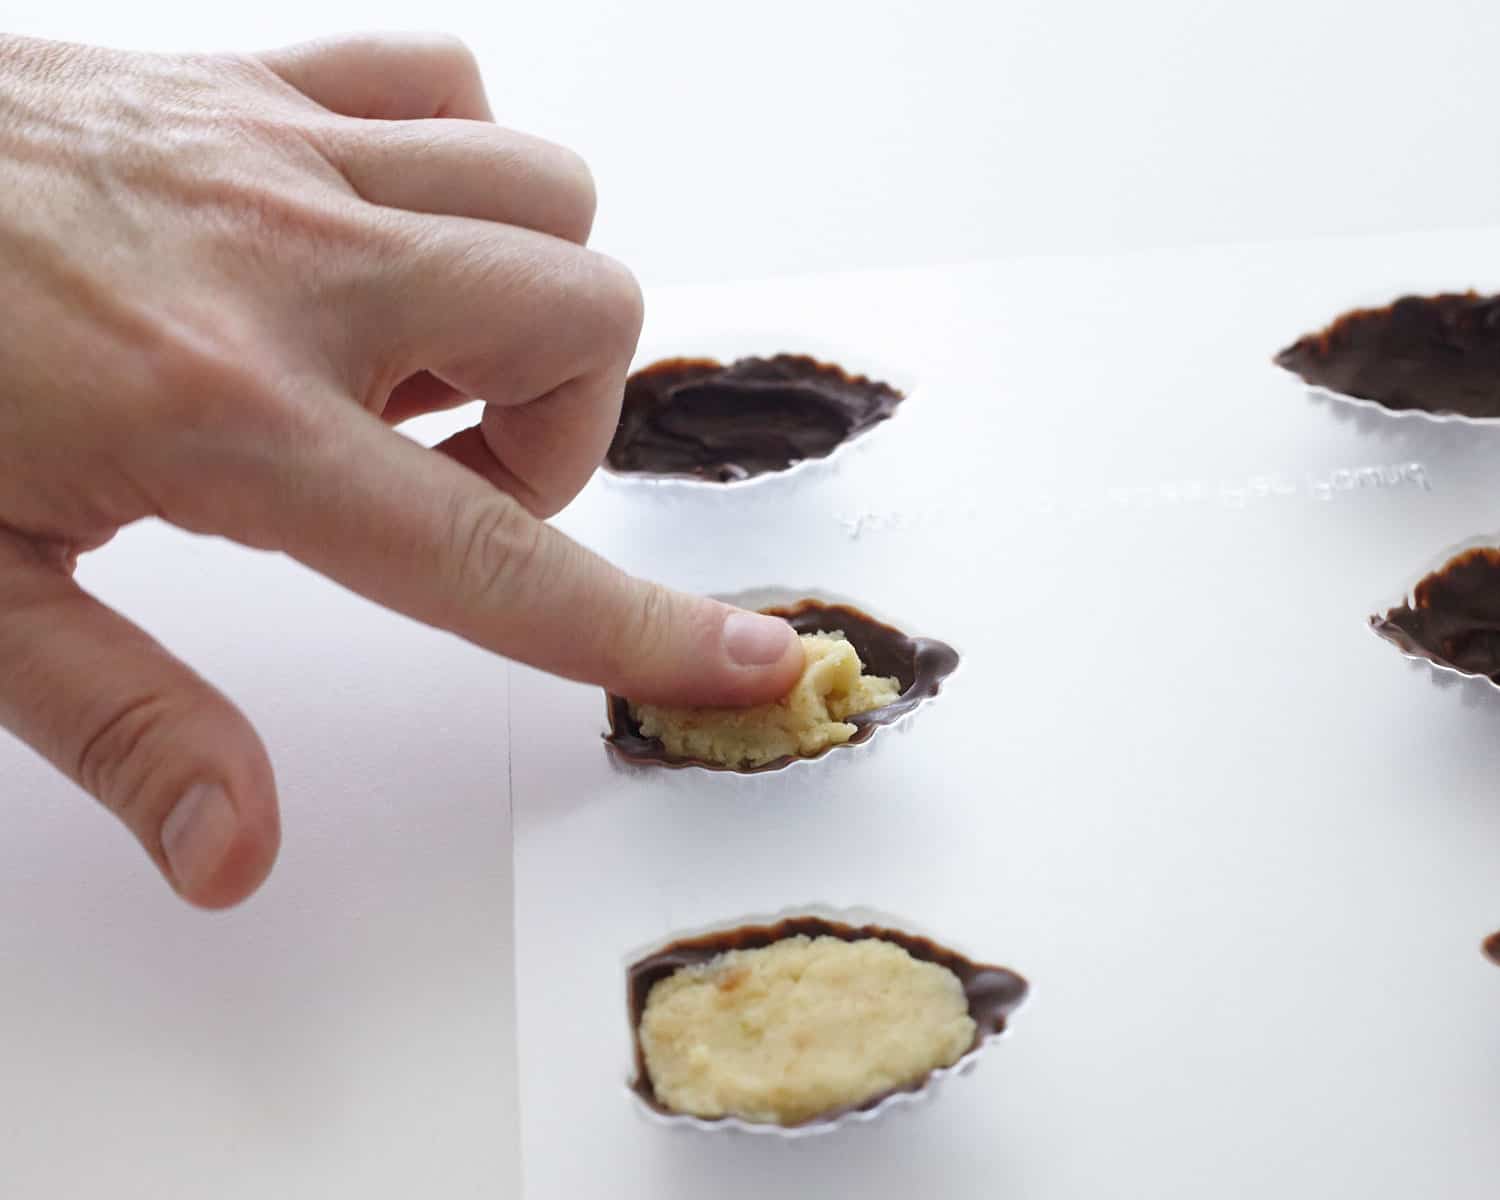
Remelt some coating and then smear a small amount on the back of each mold, making sure that you bring it all the way to the edges so that you pine cone is completely sealed. When all the cavities are finished, place the mold in the freezer for 10 minutes to harden.
Remove the mold from the freezer and flip the pine cones out. Use your fingers to break off any overhanging pieces of chocolate so that the edges look nice and neat. Then, let them come to room temperature so that any condensation on top of them is dry. Place the pine cones on a piece of wax paper and dab the tips with copper luster dust (there is no need to mix the luster dust with anything; the oil from the coating will make it adhere). Fold the paper in half and funnel the dust back into the jar to save the left overs.
Happy Caking!
Love these! Can you tell me where you got the pineone mold? Thanks!
Tried to correct my spelling (pineone), but I wasn’t quite fast enough. 🙂
I’m trained in all aspects of chocolate. Do you ever use tempered chocolate or ganache for these pine cones.