
This week I’m going to be sharing with you How to make a Standing Owl Cake.
I used to be very afraid of making 3-D or carved cakes, but after doing several of them, I’ve discovered that they’re really not that hard when you take your time and focus – one step at a time.
This standing owl cake may look difficult, but I hope you’ll be pleasantly surprised to see that it’s really not so bad!
Oh, and I need to tell you that this design is not mine. My customer sent me a picture from Elegantly Iced and that’s what I used as inspiration.
Here’s what you’ll need for part 1:
- 4 half ball cakes, baked in the Wilton Sports Ball pan set
- 2 6″ round cakes, less than 2″ thick each
- buttercream frosting, to fill and frost the cakes
- 12″ round covered cake drum
- 4″ round cake board
- sharp knife to carve the cakes
- 3 bubble tea straws
- 1/2″ dowel rod at least 12″ long
Step 1: First, you’ll need to assemble the cakes. To do this, you’ll need to take one of the half ball cakes and carve a flat spot on the rounded edge. Then flip it over and put it on a 4″ cake board with the rounded side down.
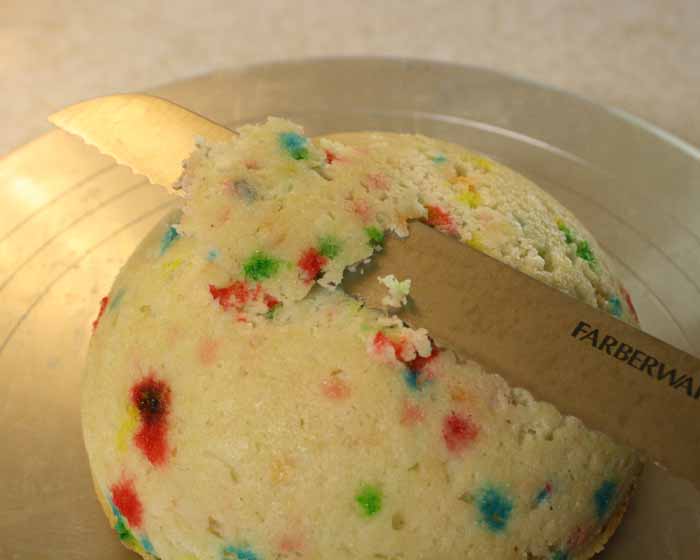
I didn’t have a 4″ round board, so I roughly cut down a 6″ round board to 4 inches. It doesn’t have to be perfect – it will all be covered up!

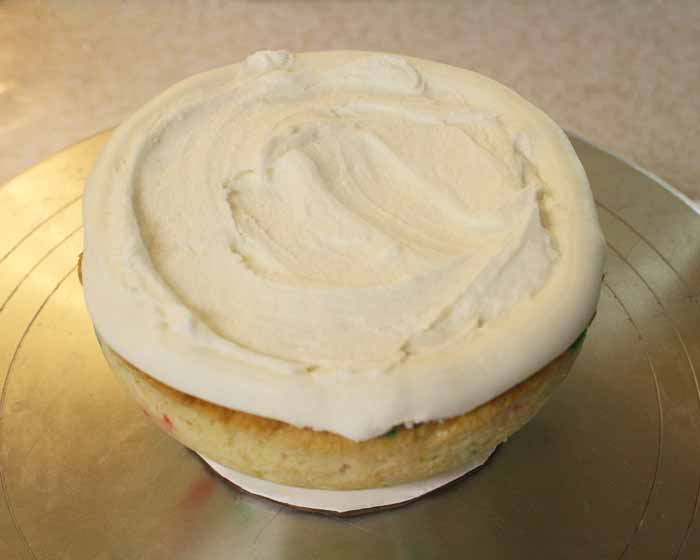
Step 2: Pipe a wall of stiff frosting around the edge of the cake, then fill it with frosting.

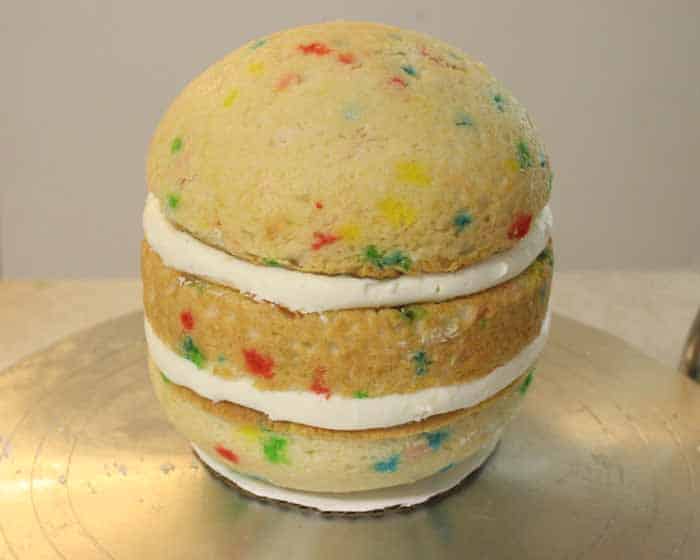
Step 3: Next stack on a 6″ round cake, repeat the wall and filling.


Step 4: Put the “top” half ball on.
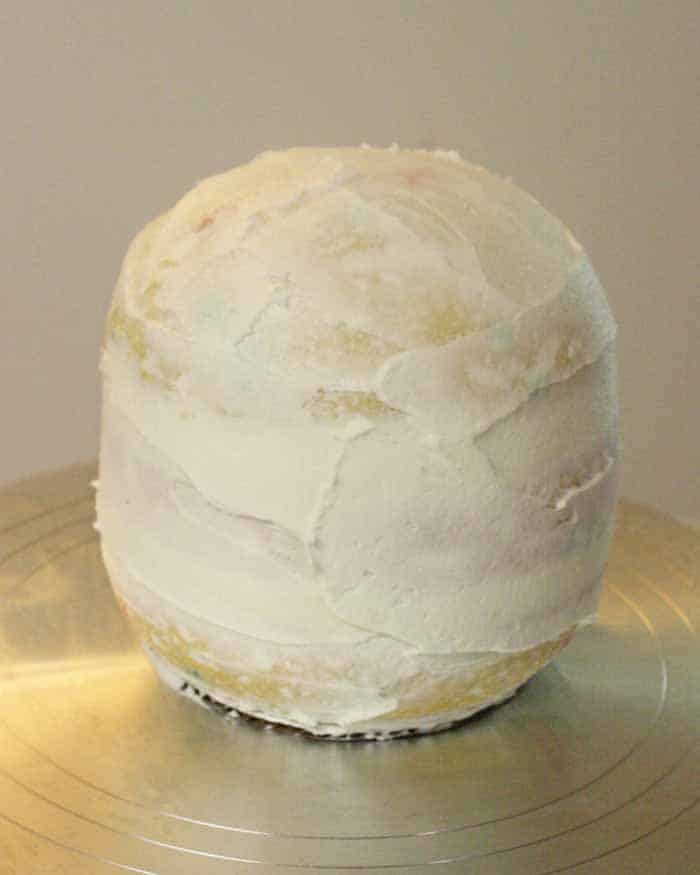
Step 5: Crumb coat the entire thing and set it aside.
Step 6: Repeat steps 1-5 to have two completed balls, except do the second one on a 12″ cake drum. It will be the bottom half of the owl.

Step 7: Place 3 bubble tea straws (or you could use wooden dowels) in the bottom tier of the cake and cut them off level with the highest point on the cake.

Step 8: Stack the top half of the owl onto the bottom half.

Step 9: Sharpen a half inch dowel rod and drive it straight down through both cakes.
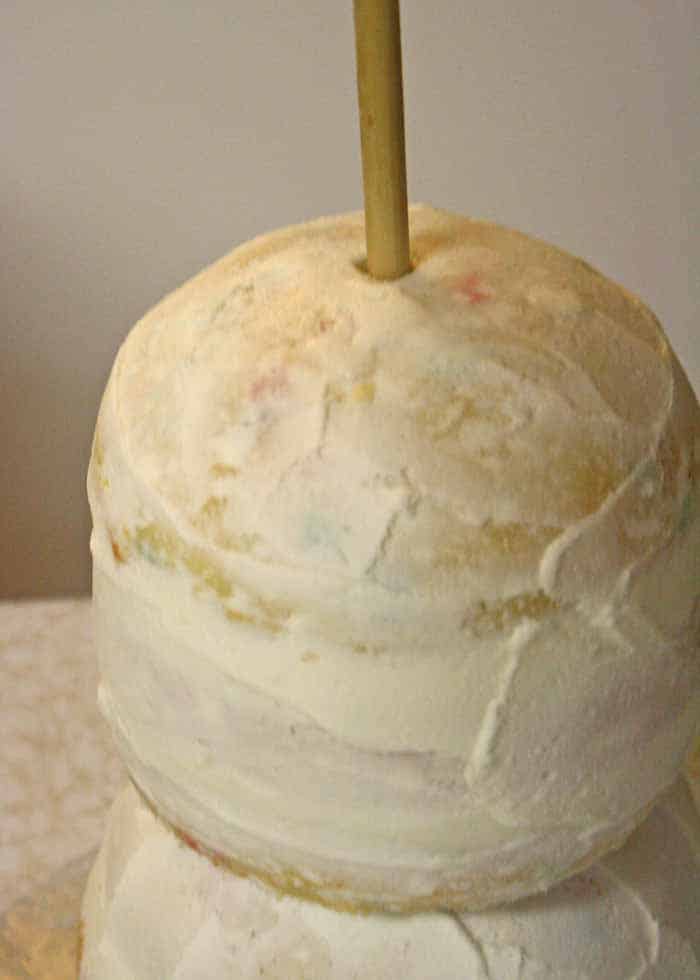
Step 10: Cut the dowel off level with the top of the cake (or slightly shorter) then smooth the hole and top of the cake. Also use frosting to fill in the seam around the bottom of the cake and around the middle joint. Smooth it as best you can.

Step 11: Allow this stacked cake to settle or rest for several hours or overnight. Re-trim the dowel if the cake has sank below the top of it, then chill it for at least an hour in the frig to prepare it to be covered with fondant.
Whew… you’re halfway there! Stay tuned for How to Make a Standing Owl Cake Part 2!
Happy Caking!
Rose
Hi
How would I make a squirrel cake topper using same technique
Thank you
Rae
Great directions! Could you provide some guidance also on how to cut it? Thanks! 🙂
Yes, I would say so. It’s probably 25 servings of cake.
First time cake maker here…is this cake too large for a smash cake?