• Skip to primary navigation
  • Skip to main content
  • Skip to primary sidebar

Cake Journal

  • Cake Lounge
    • Easy Embossed Cookies Recipe
    • How to Make Heart-Shaped Cake with Buttercream Roses
  • Desserts
    • Best 3 Cookie Scoop Sizes and How to Use Them?
    • Babycakes Cake Pop Maker Review and Tutorial
  • Recipes
    • Traditional Castella Cake Recipe
    • Stabilized Whipped Cream Frosting (Easy Recipe)
    • Best Frozen-Themed Cake Ideas with Images
  • Tips & tools
    • What to Do With Cake Scraps? (8 Easy Recipes)
    • Luster Dust: If You Don’t Know About It, You Need To!
    • How To Use Edible Glue and How to Make It
    • How to Use Russian Piping Tips and Tutorial
    • What Is Wafer Paper and How to Use It? (Video Tutorials)
  • Tutorials
    • How To Make Royal Icing (Easy Recipe)
    • How to Flood Cookies with Royal Icing?
    • How To Use Candy Molds Properly
    • How to Make Cake Pops: Easy Step-by-Step Tutorial
    • Fondant On Cookies: Easy Way To Decorate
  • About Us
  • Contact

How To Make Tiny Flower Pot Cakes

by Louise 4 Comments

flower pot cake

Sometimes you want to create a dessert that is both a show stopper and is deceptively easy. Well, these teeny weeny flower pot cake bites are just the thing.

Using a chocolate mold makes them fool proof and dirt “brownie” filling tricks the eye but couldn’t be simpler. Use pre made royal icing flowers for the topper or pipe your own if you’re feeling ambitious. Either way, it’s the perfect treat to wow your guests.

Here’s what you’ll need:

Flower Pot Chocolate Mold
Orange Candy Coating Discs
Paintbrush
Store Bought Brownies (with no icing) or Chocolate Cake Pop Filling
Chocolate Store Bought Icing in a Piping Bag
Ready-to-Use Royal Icing Flowers or Fondant Flowers

Step 1: Paint And Fill The Pots

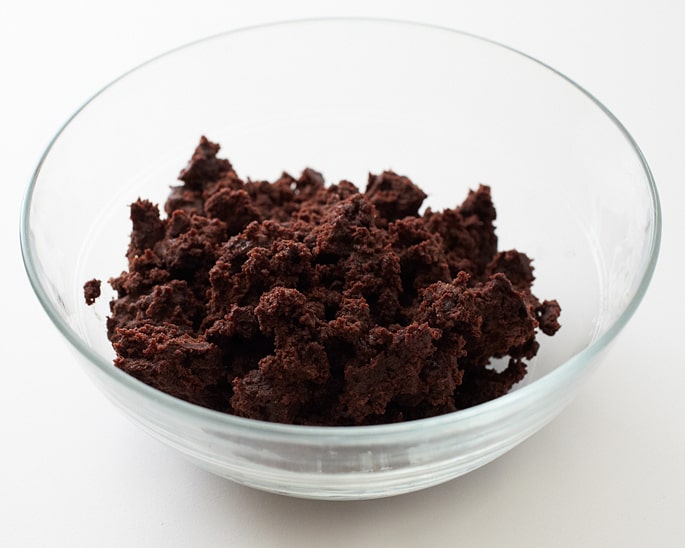
Start by crumbling up the brownies and set them aside in a bowl.

_MG_5304

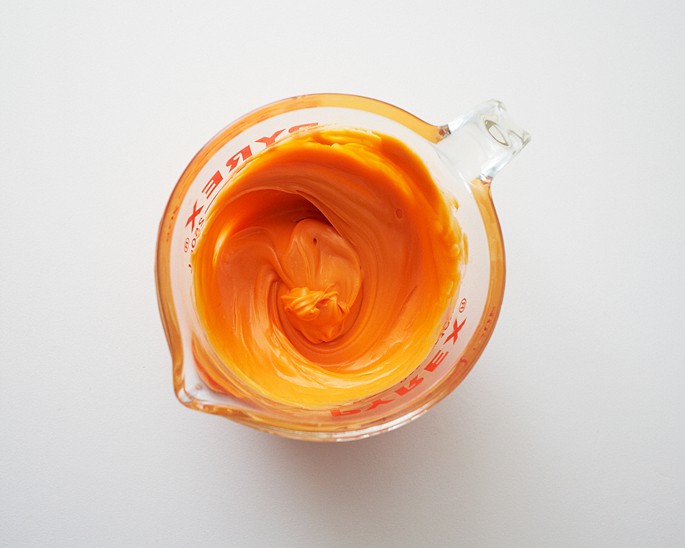
Then, in a microwave safe bowl, heat some orange candy coating discs on half power. Remove after 30 seconds and stir. Continue to heat and stir in 30 second intervals until the discs are melted. (Be careful to not overheat the discs because they will burn).

_MG_5331

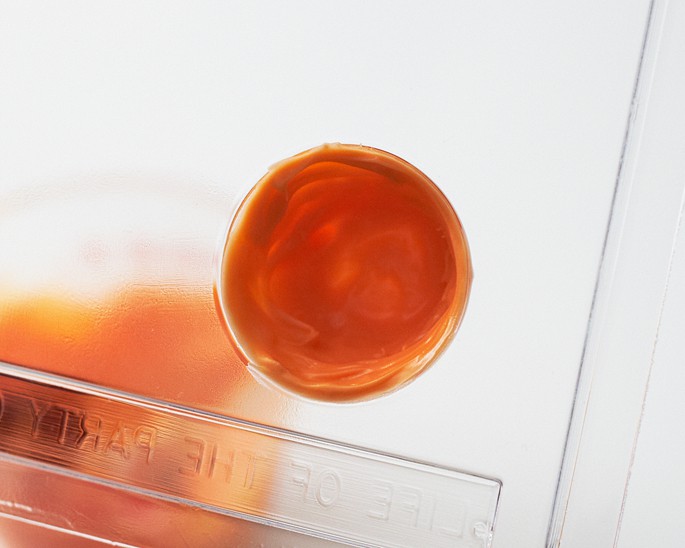
Use a paintbrush to coat each cavity of the flower pot mold. Use a dabbing motion if paint strokes are leaving too many thin spots. (Reheat the coating as necessary because it may get firm if you are working slowly).

Place the mold in the fridge for 5 minutes. Remove it from the fridge, hold it up to the light and then touch up any thin spots with additional coating so that you have a solid shell to put filling in.

_MG_5335

_MG_5341

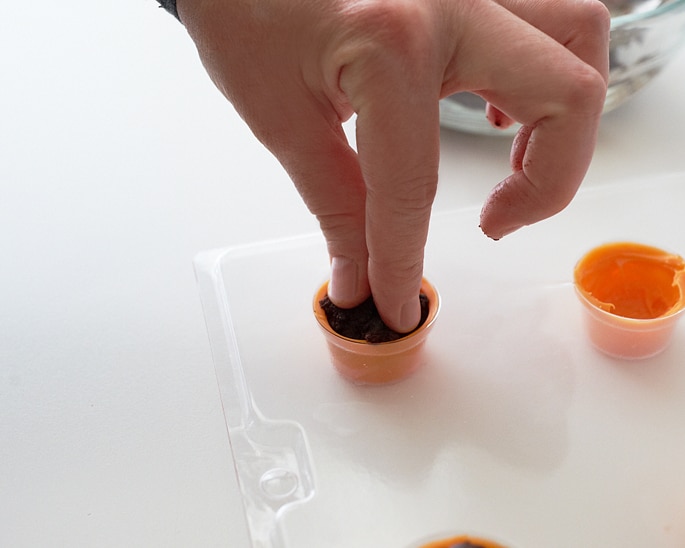
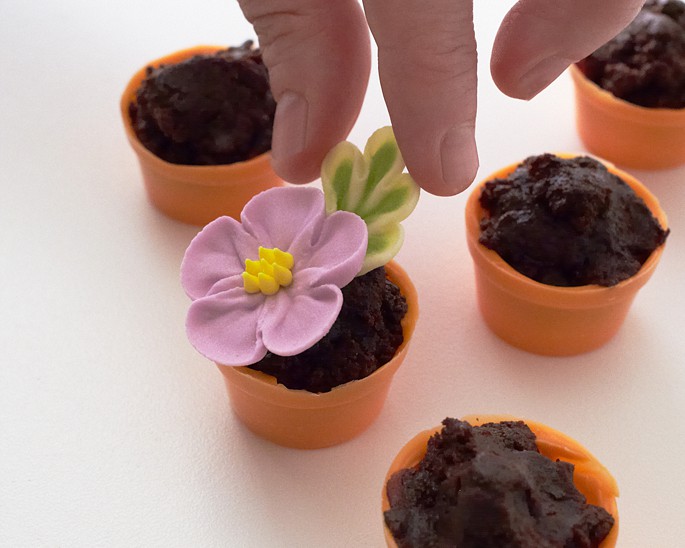
Scoop some brownie filling and press it into each pot.

_MG_5367

On the back of your royal icing flower, pipe a dollop of icing and then adhere the flower to the top of the cake. Accent with leaves or additional flowers.

_MG_5385

flower pot cakes

_MG_5409-1

Previous Post: « Advanced Fondant Techniques by Marina Sousa: A Craftsy Class Review
Next Post: How to make a Teenage Mutant Ninja Turtle Cake Topper »

Reader Interactions

Comments

  1. Marla

    October 10, 2014 at 12:28 AM

    I made these using mini cupcakes. Looks the same and easier than finding molds. Tastes better too! Mini cupcakes are the best to use to decorate

    Reply
  2. Miss Kim @ behgopa

    September 7, 2014 at 7:51 AM

    aww these are so cute.

    Reply
  3. MsGF

    July 19, 2014 at 2:31 PM

    What a great idea. Super cute to. Love it!

    Reply
  4. moorein

    July 19, 2014 at 10:08 AM

    Hi, I just love the post and i will be back often for visit.

    Reply

Leave a Reply Cancel reply

Your email address will not be published. Required fields are marked *

This site uses Akismet to reduce spam. Learn how your comment data is processed.

Primary Sidebar

Search Recipes on Cake Journal:

About Us

Kristen is the author of Cake Journal and a graduate of the Professional Baking program at Renton Technical College. She has worked as a pastry chef at a top Seattle restaurant and loves sharing her passion for baking amazing cakes on this site.

Contact Me

Privacy Policy

As Seen On:

Follow Us on Pinterest

Follow Us on Facebook

Copyright © 2025 · Cake Journal