I absolutely love Halloween – we don’t celebrate it much in Australia but I always make sure I have sweet treats for the handful of kids that come knocking at my door.
This year I’ll be handing out Mummy Cakepops and I thought I’d share my super easy tutorial for some fun, not too scary Halloween cakepops.

I love these pops because they’re quick, cheap and easy to make, and they’re homemade so the kids will enjoy getting something a little bit different to the usual candy assortment.
Read on below for my step-by-step instructions.
Tools, Equipment & Ingredients:
1. Lollypop sticks
2. Polystyrene block (to dry the pops)
3. Zip lock bag
4. Scissors
5. Cakepop balls (recipe details below)
6. Melted white chocolate
7. Blue and Red Mini M&M’s
Cake Pop Recipe:
If you haven’t made cakepops before, here’s a simple basic recipe that I absolutely love:
Step 1: Take your cooked cake (bake it yourself or you can use store bought cake) and crumble it into a bowl. 1 standard cake mix, 1 x 8” cake or a dozen cupcakes is a good amount, depending on how many pops you require (this recipe does about 12 of these popsicles)
Step 2: Take 200ml whipping cream and 200g dark chocolate and microwave for 1 minute intervals until completed combined (approx. 2 minutes total) Stir until there are no lumps.
Step 3: Pour chocolate mixture over your chocolate cake crumbs and stir until all the chocolate mixture has been absorbed and you have a workable chocolate truffle-type mix.
Step 4: If it’s a little soft to work with, refrigerate for 20 minutes prior to use.
So, that’s the basic recipe sorted and now we need to take this deliciously messy chocolate mix and turn it into spooky Mummies!
To decorate your Mummy Cakepops:
Step 1
Roll your cake pop mix into a nice round ball, then elongate it just a little to make an oval shape. Place in the fridge for 5 minutes to firm up.
Step 2
Melt your white chocolate using a microwave, chocolate pot or double boiler.
Step 3
Dip your lollypop stick approx. 1/4 inch into the meted chocolate and insert the chocolate coated end of the stick into the bottom of your cake pop oval. Place in the fridge for a further 5 minutes to set the chocolate seal
Step 4
When your seal is dry and your pop is chilled, dip your mummy head into the melted chocolate, ensuring your chocolate covers the seal completely. Gently tap off any excess chocolate.
Step 5
Before the chocolate sets completely, attach your mini m&m ‘eyes’, ensuring the “m” is facing towards the chocolate and not visible. Leave the pop to completely set.
Step 6
Once set, place some melted white chocolate into your zip lock bag and snip of a small corner to create a makeshift piping bag
Step 7
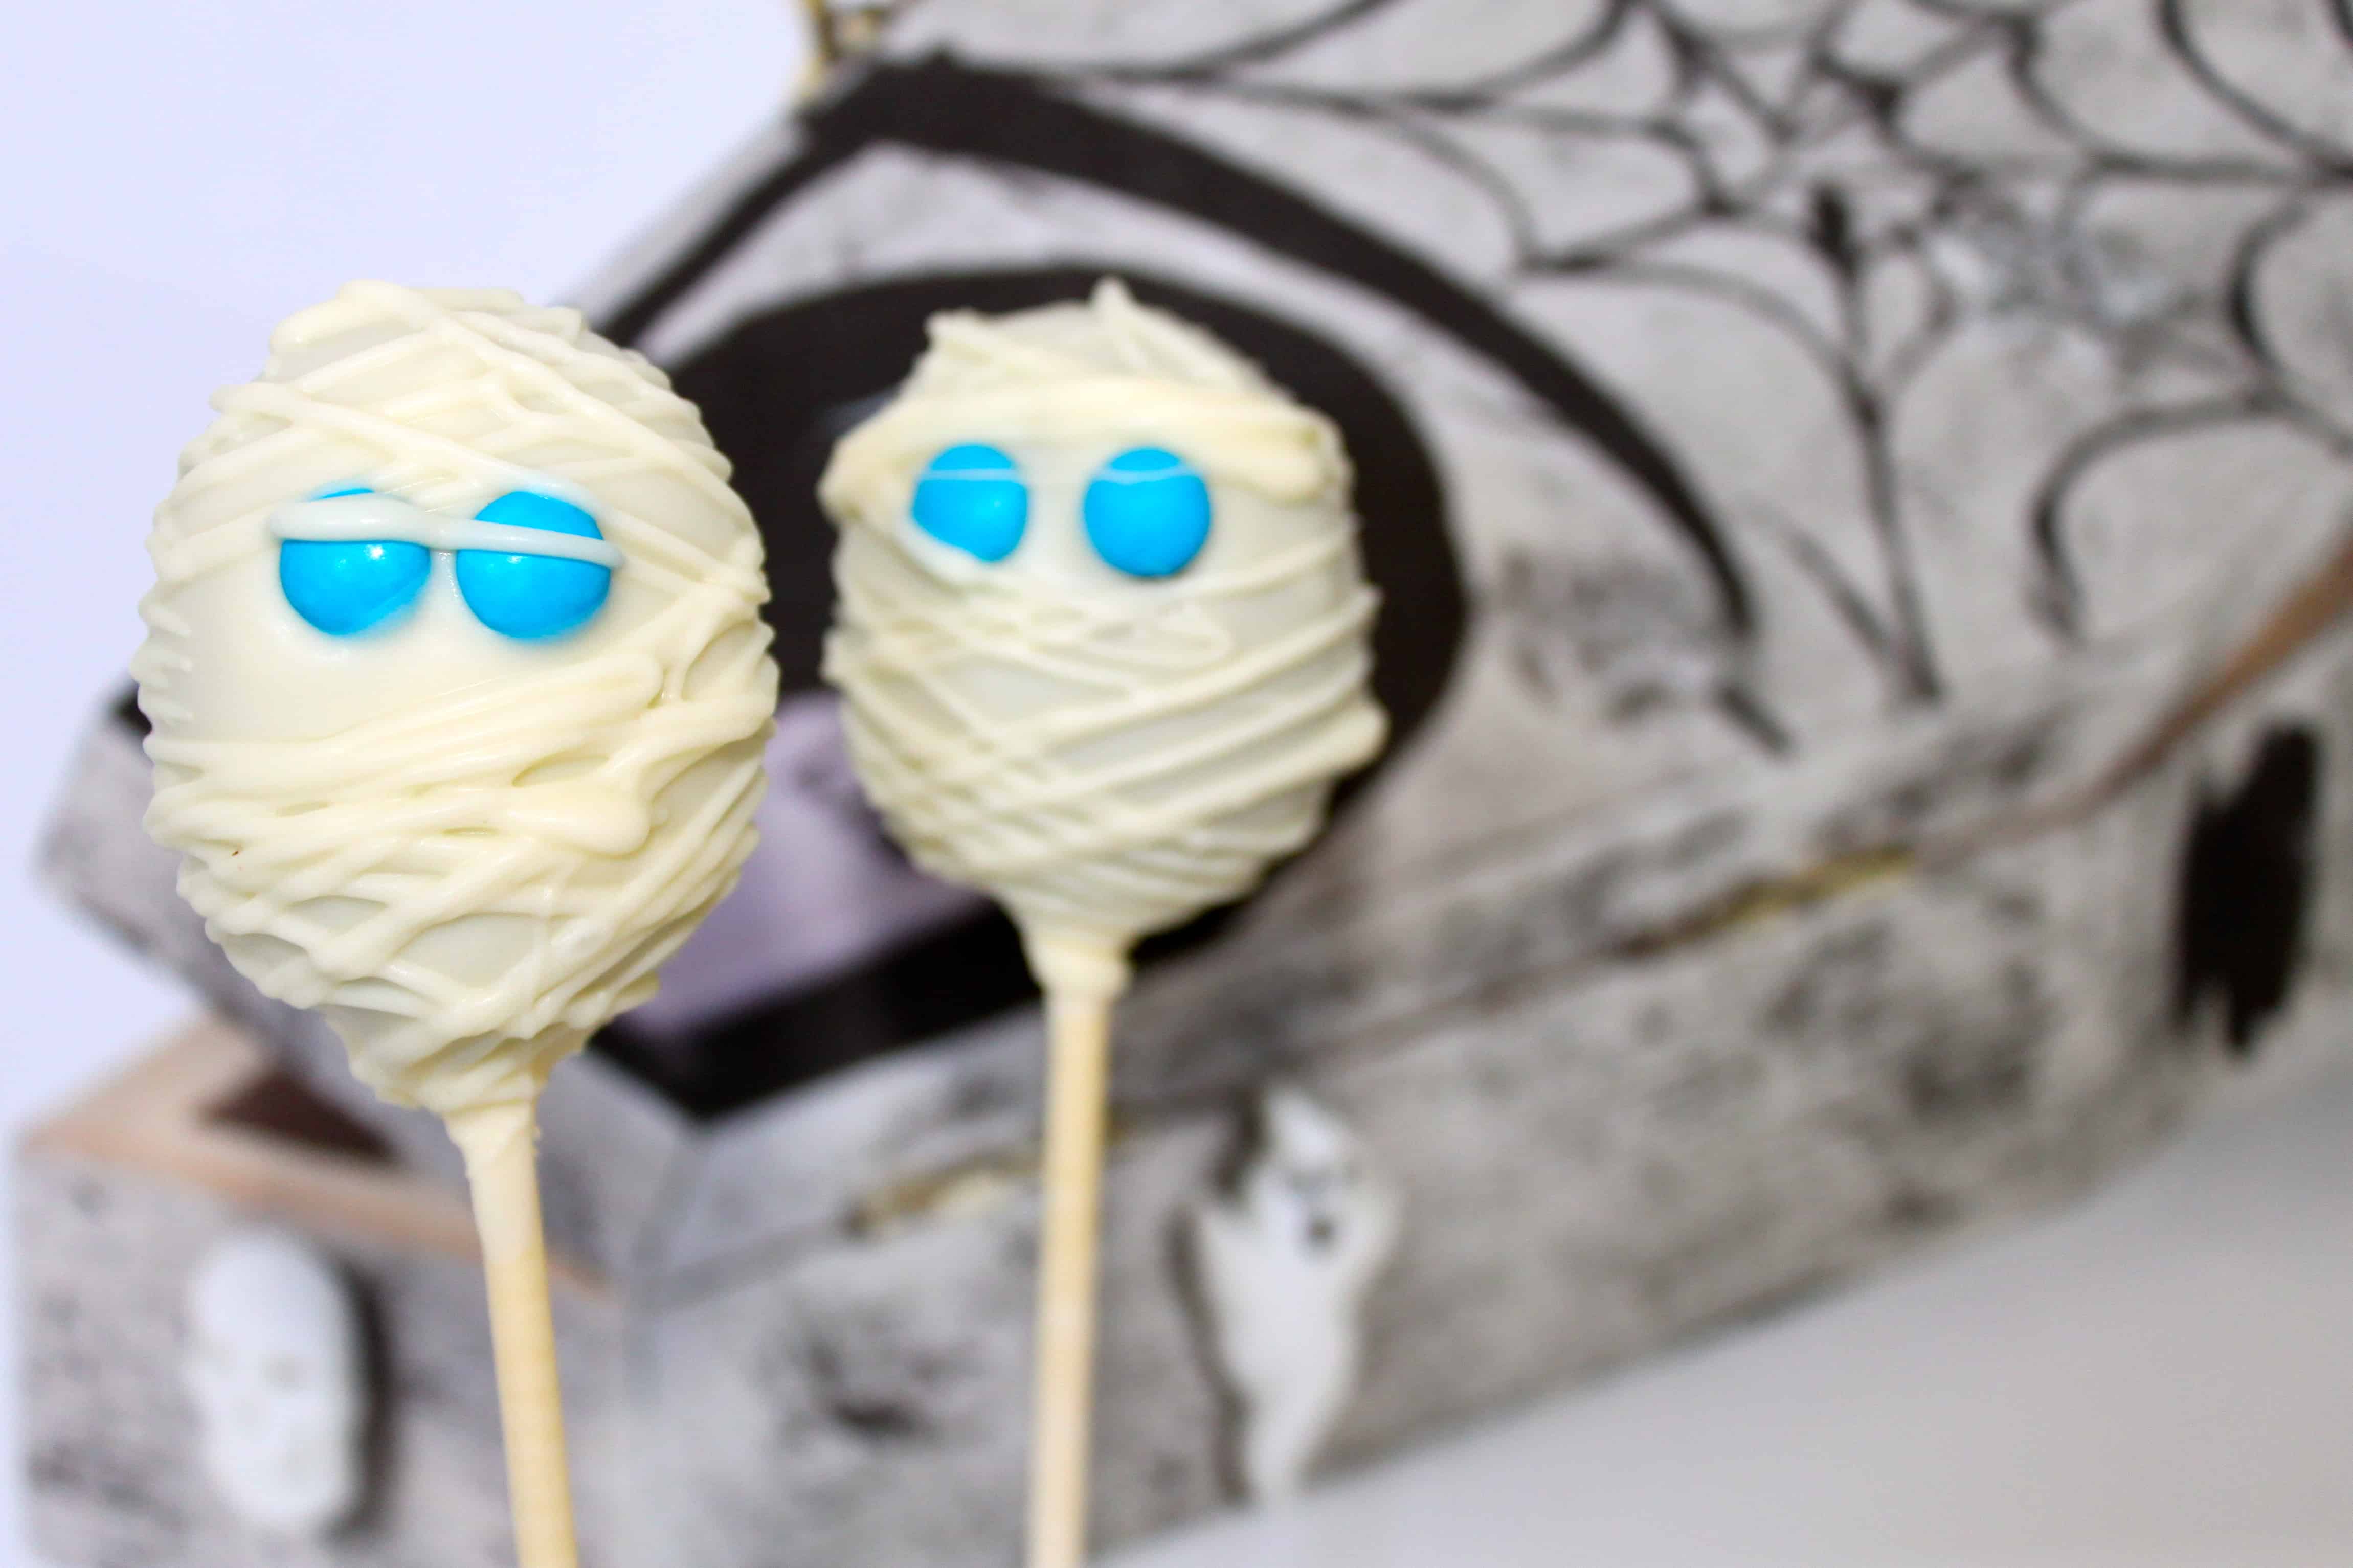
Starting with the back of your mummies head, squeeze zig zagged lines all over to resemble bandages. Repeat with the front, allowing some of the chocolate “bandage” to cover the tops and bottoms of the m & m ‘eyes”
Your cake pops are completed and ready to serve!

Storage: Room temperature for up to 3 days. Do not refrigerate as this will cause the m&m’s to discolour.
I hope you like this easy, fun Halloween cake pop idea! If you love it, please LIKE and SHARE on your social media.
Check out my YouTube channel MyCupcakeAddiction for lots more great ideas and heaps of cool Halloween ideas, as well as 3 x weekly uploads for all things cake, cupcake and cakepop!
If you have any questions about this tutorial, please watch the video above – if you don’t find your answer then feel free to comment below and I will do my best to answer.
This part confuses me: “1 standard cake mix, 1 x 8” cake or a dozen cupcakes is a good amount.” One standard cake mix generally makes 24 cupcakes so these amounts don’t match up.
The pops are adorable bit this piece of the instructions makes me hesitate to start,
Its beautiful.. very easy. Thank you!!