
Baby blocks are a fun decorative topper for any baby shower or baptism cake. With a little preparation, they are not difficult to make. They can be made in any colour combination and any size.

This is what I used:
50/50 mix (gumpaste and fondant) – two different colours
working mat,
square cutter (any size)
knife
cutting wheel
ball tool
gum glue
Alphabet Cutters (I used FFM Sugarcraft “Tapits”)
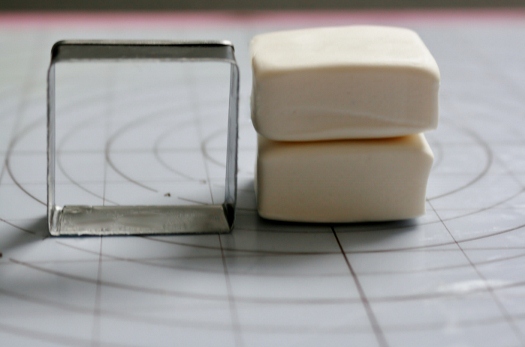
Step 1:
Roll out one colour of the 50/50 mix to an inch thickness. Use the square cutter and make two cuts. You should have two square cuts that are each one inch thick.


Step 2:
Using the gum glue, glue the two one inch square cuts together. Ensure it is the height of the square cutter, if the cutter is turned to its tallest side. Place aside and allow to dry for at least 3-4 hours.

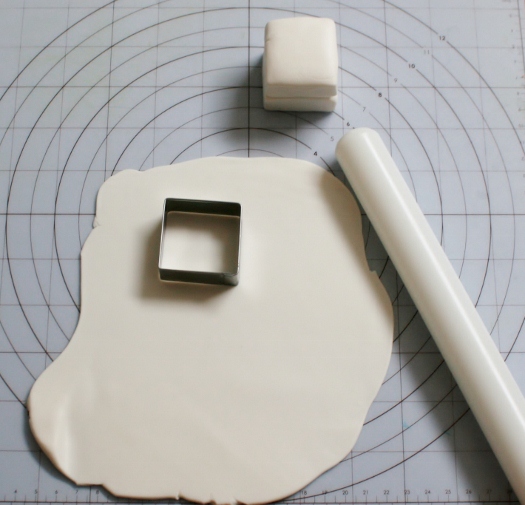
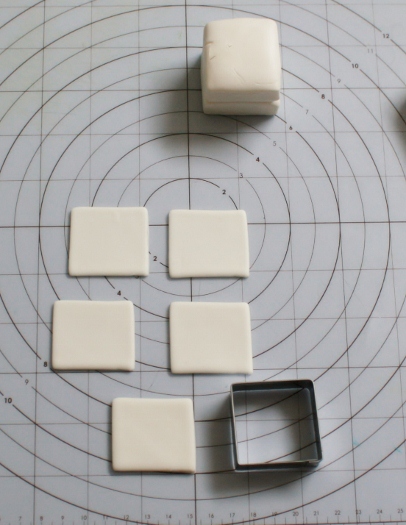
Step 3:
While the first piece is drying, roll out the first coloured 50/50 mix thinly. Using the same square cutter cut 5 squares. Set them aside and allow them to harden.
Step 4:
Using the second coloured 50/50 mix, roll it out thinly. Put some gum glue in the middle of the rolled out piece. Place the dried large squared piece on top of it. Using it as a guide, use the knife and cut around the large square leaving a bit exposed on the each side.


Step 5:
Take one of the thin square cut pieces and put gum glue on it. Place it on one side of the large square. Continuing placing gum glue on each of the other four squares and put them on all sides of the large square, including the top.


Step 6:
Roll out a piece of the accent colour very thinly. Allow it to air dry for 10 minutes. Using the alphabet cutter, cut out 5 of the same letter. Once all five letters have been cut out, allow them to dry a bit more so that they are easier to handle. Using the gum glue stick all five letters to each side.


Step 7:
Using the 50/50 mix accent colour roll out a thin “worm” like string. Cut into 8 lengths that will cover each length of the edge of the block.

Step 8:
Using gum glue, place the glue on each edge and then attach the accent rolled 50/50 mix. Cover all edges of the block.


Repeat all the above sets for all the baby block you require for your cake.
Happy Caking!
Diane
Leave a Reply