
I am in “love” with today’s “LOVE” cake! 😉
I like the simplicity of this cake… it’s clean, pink, effortless and totally romantic!
I didn’t add any type of topper on top of this cake because I felt like it was overwhelming the cake design. You can add one if you like though.
I also decided to write “Love” all over the cake but you can write something else like: Hugs, Kisses or even the couple’s names.

To make this cake, you will need the following supplies:
Round pink velvet cake
Seedless strawberry frosting
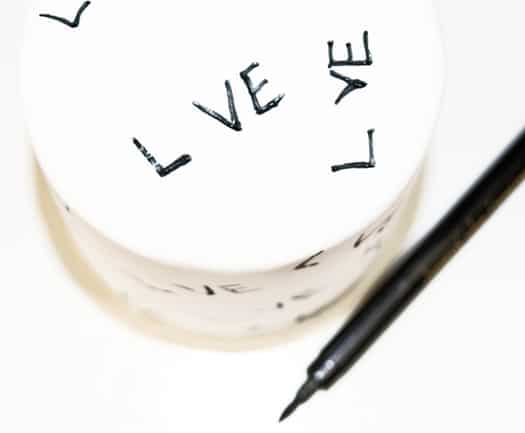
Black edible marker
White fondant
Rolling pin
Corn syrup or royal icing
Paintbrush
Pink heart sprinkles
Knife or pizza cutter
Fondant smoother
These are the instructions:
Step 1:
Roll out white fondant.

Step 2:
Fill and frost your pink velvet cakes with pink seedless strawberry frosting.
Then, cover it in white fondant.
Cut off excess fondant with a knife or pizza cutter and then smooth it out with a fondant smoothing tool.

Step 3:
Let your cake sit at room temperature for 30 minutes so that the fondant doesn’t remain as soft anymore.
Then, use a black edible marker to write “L VE” in capital letters, all around the sides of the cake.
Make sure to leave space between the L and V.
Tip:
– It’s easier to write on a cake if the cake is at eye-level and you are sitting down.
– Make sure to practice on scrap pieces of fondant first, just to get the hang of how much pressure you need to apply without creating dents.

Step 4:
Write “L VE” on top of the cake with black edible marker too.
Step 5:
Brush some corn syrup in the gap between the letters L and V.

Step 6:
Stick a pink heart sprinkle here.
Do this for all the gaps.
Tip:
Make sure your nails are short or else they will dig into the fondant when you are applying these sprinkles.

Step 7:
Finally, use a black edible marker to draw little black dots all over the cake.

Place this cake on a cake stand/plate and toss some pink heart sprinkles around the base of the cake.
And you are done!

I hope you enjoyed this tutorial.
Happy caking everyone 🙂
Hi, i like your cake very, very much! It’s nice that you don’t need to buy much materials to make this awesome looking cake for your valentine!
Thank you very much for the idea! It’s something else than a heartshaped cake wich i made several years! It’s not pink all over but just enough to see it’s a valentine cake. I love it very much!
Thanks again and till next time! I love to see your ideas! 🙂