
Have you noticed how quickly a baby’s mood changes?! lol.
One minute… they are happy and laughing and a minute later, they are crying their heart out…hehe.
I think this crybaby cake says it all and it’s also great to serve at baby showers 😛
To make this cake, you will need the following supplies:
Round cake
Buttercream icing
Brown fondant or any skin toned fondant
Black fondant
Red fondant
White fondant
Toothpicks
Cardboard piece
Black edible marker
Tape
Pizza cutter
Powdered sugar
Corn syrup or royal icing
Circle cutter
These are the instructions:
Step 1:
Bake a round cake.
Then, fill it and frost it with buttercream icing.
Cover this cake in brown fondant.
This will be the face of the baby.
Note:
Don’t worry about all the white specks on the cake. That’s just powdered sugar. It will disappear once you steam your cake at the very end.

Step 2:
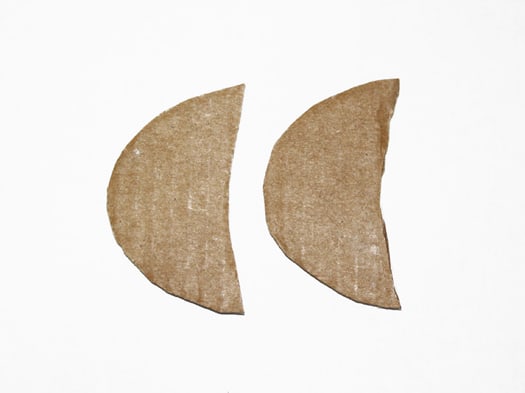
Let’s make the ears first…
Cut out 2 moon-shapes cardboard pieces.
They should be the same size.
Step 3:
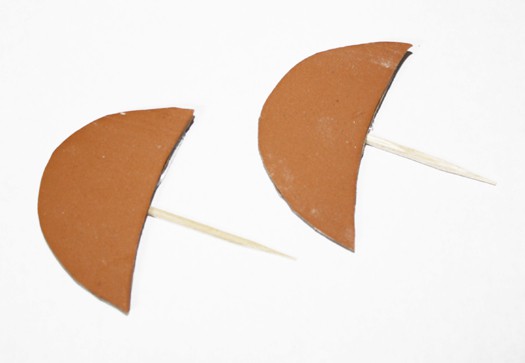
Brush the cardboard pieces with corn syrup or royal icing.
Then, cover them in brown fondant and cut off excess fondant, using a pizza cutter.
Use tape to attach toothpicks behind each cardboard ear.
Step 4:
Push these cardboard ears on both sides of your cake and your baby now has ears! Yay 😀
Note:
I used cardboard as a base for the ears because I was short on time. But, if you have time…you can cut out 2 moon shaped brown gumpaste pieces and let them dry overnight. Then, stick toothpicks behind those gumpaste ears with melted chocolate and push them into the sides of your cake.

Step 5:
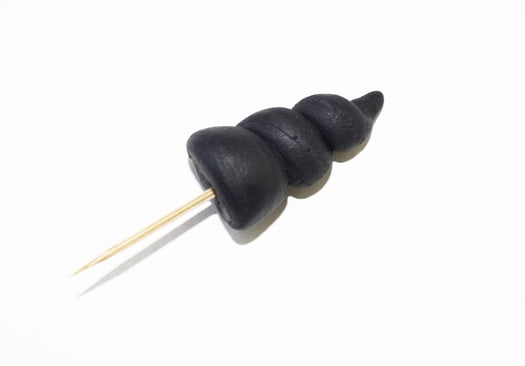
Let’s make the hair now…
Roll out black fondant into a “rope” and then arrange it into a spiral shape.
Push a toothpick in the base of this spiral piece.
Keep this piece aside for now.
Step 6:
Let’s make the nose…
All you have to do is roll out a small ball of brown fondant.
Keep this piece aside as well.

Step 7:
Let’s make the mouth now…
Cut out a black circle, using a circle cutter.
Cut out a red leaf shape (I cut this out freehandedly). Use a black edible maker to draw a small line in the center.
Also, cut out 2 small white squares.

Step 8:
Assemble all the mouth pieces together as shown in this picture…

Step 9:
Now, just stick all the pieces on top of your cake by using some corn syrup or royal icing.
By the way, for the eyes, I just cut out 2 black “V” pieces freehandedly and then slightly bent the ends.
You can also draw eyes with a black edible marker, if you like.

Step 10:
Finally, push the hair piece on top of the cake.

Steam your cake and you are done!

I hope you enjoyed this tutorial!
Happy caking everyone 😀
Very cute!