
Today I’m sharing a tutorial for how to make palm trees for a cake. With summer just around the corner, these will be perfect to use on all of those beach themed cakes!
For this tutorial, the palm trees aren’t hard to make, but you will want to make them 2-3 days ahead so that the leaves have time to dry!
Here’s what you’ll need:
- Green fondant or gum paste
- Lily or narrow leaf cutter
- Flower form or curved surface for the leaves to dry
- Sugar glue
- Small paint brush
- Covered wires (I use 22 gauge, 6″ long wires)
- Coffee Straws
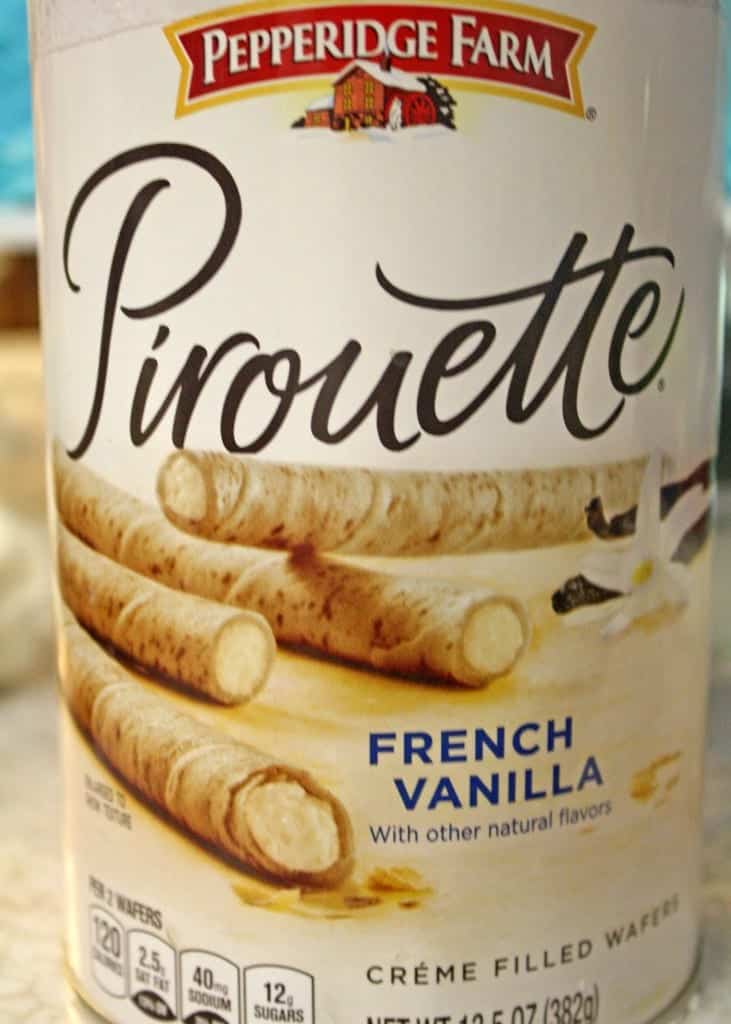
- Pirouettes
Step 1: Roll out your green fondant and cut out at least six leaves. I used this Lily Cutter from the Wilton Gum Paste flowers set:

Step 2: Place the leaves on a curved form to dry. I like to dust the form with corn starch or powdered sugar to prevent sticking.
Let them dry for at least 24 hours – you may need more time depending on the softness of your fondant and the humidity where you live.
Wrap up your leftover green fondant and save it – you’ll need it for more steps later!

Step 3: Once the leaves are dry, you’ll need to cut out 6 more leaves. You’ll also need to bend a 6″ wire to fit the curve of the leaf, then use sugar glue to attach it.


Step 4: While it’s still wet, place another (fresh) leaf underneath the bottom – sandwiching the wire in between. Again, let the leaves dry for at least 24 hours. You can align the bottom and top perfectly, or have them offset a little so you’ll have some variation. You can see some of mine offset in the final picture.

Step 5: Push a coffee straw into the soft center of a pirouette, then insert all of the wires of the leaves. Arrange them to make a balanced tree!
Step 7: Push the tree into a cake and you’re done!
If the pirouette is off balance, you can push a bamboo skewer into the bottom of it, then push that into the cake to have more leverage and help it stand up!
Happy Caking!!
Thank you so much for this tutorial! I made this for my daughter’s cake this weekend it looks great. I tried another method and failed miserably, but this one turned out great. Thanks again!
So glad to hear it! 🙂
The steps to make the palm trees for a cake are seem easy to understand and follow and the palm tree you created looks really appealing. I think this is a fun project to do.
What a brilliant idea using the Pirouette cookies for a stable tree base. I would have never thought of that!
I ‘know’ you meant edible, but I had to chuckle when I saw the post stated “Editable” Palm Trees… and I’m thinking, you mean they can be re-written!!! I want to be that editor!