The cake is something that makes a celebration more memorable, especially when it’s designed differently. For instance, you want a photo cake for your birthday, or it can be a present for loved ones! Well, this easy photo cake tutorial can help you with that! Also, one of the main desserts for every occasion is cake. So, have your favorite cake on your special day! Kindly follow the instructions below carefully to achieve the best result.

Ingredients That You’ll Need
- crushed graham crackers,
- melted butter,
- cream cheese,
- white sugar,
- milk,
- eggs,
- sour cream,
- vanilla extract and
- all-purpose flour.
Instructions for Baking
- First, set your oven’s temperature to 350 degrees Fahrenheit so that your cake can be baked completely.
- Second, a 9-inch springform pan is a next thing to look for. With this tool, you will be baking your cake.
- Next, use a medium-sized mixing bowl for the next task and begin blending the melted butter and combined graham cracker crumbs. Then, start preparing the cake base by pressing this thoroughly combined mixture onto the bottom of the pan once the mixing process is complete and the components are unmixable.
- Start mixing the cream cheese and sugar in a larger bowl and continue doing so until the mixture is uniform and smooth. Then, combine the ingredients thoroughly after adding the milk and eggs. Sift the all-purpose flour and sour cream together to create a smooth mixture. Then, pour it into the graham cracker base that has been ready and allowed to set.
- Start baking the cake when the ingredients have been poured into the pan, and bake it for 70 to 90 minutes. Once the cake has finished baking, kindly allow it to cool for 5 to 6 hours inside the oven. Do this inside the oven, where the enclosed space will keep the cake from breaking. When the cake passes the clean toothpick test, only refrigerate it, and let it chill for one to two hours.
- Lastly, the cake should only be removed and the edible photo printed thru the designer as a cake topper once it has cooled and you are ready to serve it.
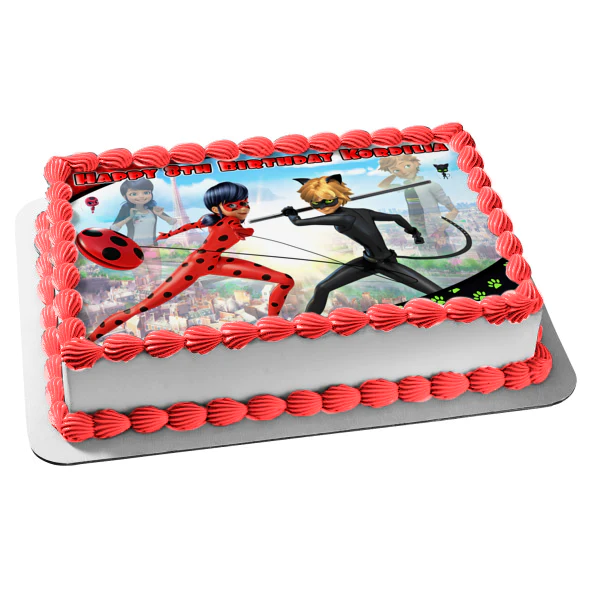
Edible Photo Cake
Photos are produced using an inkjet printer and edible inks. Like the original photo, the images for your cake are clear and sharp. You may decorate your cake with edible photos! Peel and place photo edibles on your cake that has been frosted or covered in chocolate to show off your cakes and pastries in a unique way. Your cake will stand out during the party due to this creative photo cake design.
Moreover, you can buy a whole sheet of edible photos measuring 7.5′′ x 10′′, three pre-cut strips covering an 8′′–10′′ cake measuring 2.25′′ x 10, and twelve 2′′ round images for sugar cookies and mini cupcakes. Edible photos can be customized to your preferred size and imprinted with a special message. You can also use a family photo or one of your favorite recently taken pictures. Since photos serve as the topper, this cake design idea is both adorable and original. Additionally, you can choose your design, flavor, or fillings, including ones with a photo on top. However, if you already done photo cake, you can also try a Teddy Bear Cake, a Castle Cake, or even an Edible Glitter Cake.
Enhance the joy of the occasion by having a cake on the table! When it comes to highlighting the celebration and adding a special touch, nothing can compare to the power of cakes. In that case, give this photo cake a shot if you want to try baking a cake for someone. The photo topper makes it more special and memorable.
Leave a Reply