Today I’d like to share with you how to make a Farm Tractor Cake Topper. This easy cake topper is perfect for farm/barn-themed cakes and can be changed as needed to match your party decor!
For my cake, I made a little red tractor that will sit on a blue and green cake. You can change the colors as needed. Just choose your favorite color or whatever color you want it to be.

Making Time!
What do You need to Make a Tractor Cake Topper?

- Blue, red, black, white, and yellow fondant (white not pictured)
- Sharp knife
- Small rolling pin
- Tylose powder
- Small round cookie cutters
- Tylose Glue or Water & a Paintbrush
- Small Wire
- Ball Tool
Step-By-Step Tutorial
Step 1:
Dust your work surface with Tylose powder. I chose to work on an upside-down 8″ pan because that’s the size cake I was putting the tractor on and I wanted to be sure to make it the proper size.
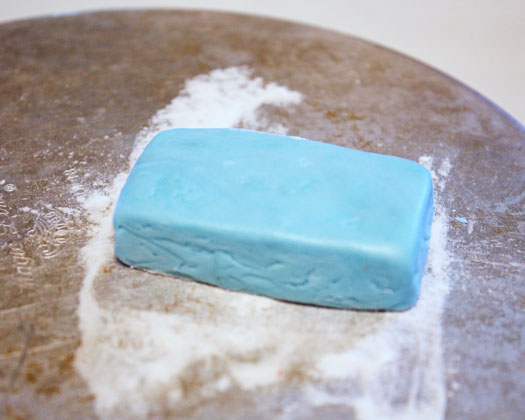
Take a ball of blue fondant and cut/shape it into a “base” for the tractor. You want it slightly smaller than the tractor you plan to make. I used blue because I initially planned to put the tractor on blue fondant (I ended up putting it on green but it wasn’t very noticeable). Use whatever color you’d like to match the cake! Or make a contrasting hue to emphasize your topper.
Step 2:
Take a large, smooth red ball of fondant and cut it into the body of the tractor. It should be a rectangular solid slightly wider and longer than the base you created. Attach it to the base with a bit of water or sugar glue.
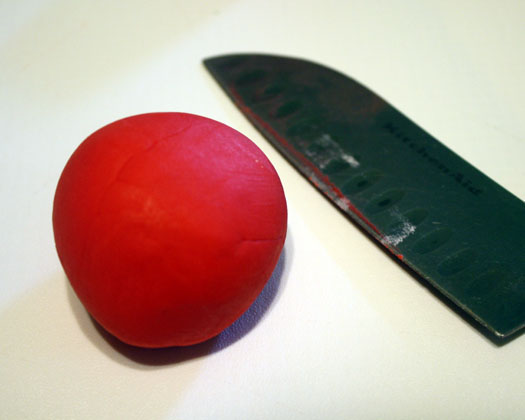
Using a sharp knife will give you really sharp corners and smooth surfaces.

Step 3:
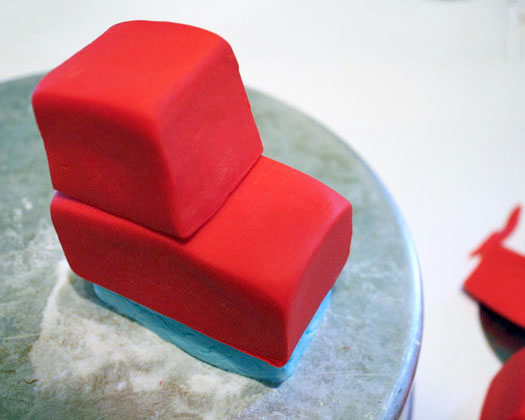
For the cab of the tractor, you need to take a smaller red ball of fondant and cut it like a square on all sides except the front – it needs to be slanted for the windshield area.

Step 4:
Attach it to the body of the tractor with water or sugar glue. Be sure to put the slanted side facing front.
Step 5:
Roll out some black fondant and use a small round cutter to cut out the tires. You want them tall enough so that about half of the tire is on the red fondant.

Step 6:
Glue with your own Tylo glue them to the sides of the tractor with water or sugar glue.

Step 7:
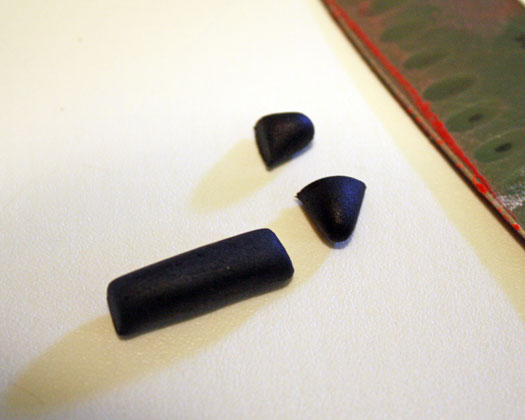
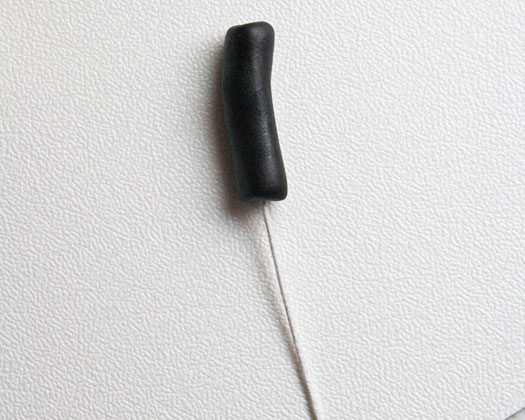
To make an exhaust pipe, roll out a small rope of fondant and cut it to about 1″ long.
Step 8:
Use a ball tool to make a slight indention on the top for the “hole” in the pipe.

Step 9:
Slide the pipe onto a short floral wire long enough to secure it to the tractor.
Step 10:
Attach it to the hood of the tractor on one side or the other.

Step 11:
Roll out white fondant and cut out the window shapes.

Step 12:
Mix a small amount of black with white to make gray fondant. Roll it out and cut a square to make the grill of the tractor. Use a gum paste tool or knife to make the line details. Attach these details to the tractor with water or sugar glue.


Step 13:
Roll out a tiny amount of yellow fondant and cut out very small circles for the center of the tires.

Step 14:
Attach the round circles to the center of the tires with sugar glue, then use the ball tool to make indentions.

Step 15:
Allow the tractor to dry overnight before placing it on the cake. It can be secured with sugar glue!

I used the same methods to make a small hay trailer for my tractor and then attached the whole thing to a farm-themed cake.
Suggested Read: How To Make Espresso Cupcakes
Happy Caking!
Now you know all the steps and essential ingredients and tools for making an edible tractor cake topper for your little one’s birthday party. You can always improvise with the shapes or decorations, but keep close to the steps. Making and assembling it can sometimes be a tricky project! But hey, your mind is way more creative than you think! Who knows we can even use your own improvision.
Now it’s your time to share your experience with this tutorial with all of us. Please tell us how it was and show us your results in the comments section below! We’d love to hear from you.
If you have further questions about the tractor cake topper tutorial, do not hesitate to share them. I am here for you and all your sweet projects!
Happy Caking!
Rose

My 3 year old insisted on having a tractor topper WITH a trailor on his BD cake. I knew I would be trouble to find one to buy, or will have to pay a fortune. So I just finished making this one. He was pleased with it. Thanks very much for sharing!
I love this page! It’s pretty heavy – will it be okay to sit on top of a madeira sponge?
Great tutorial, a smaller version would look great on top of a cupcake too!
Hi, Louise,
I hv a question, what if I need to make Sth bigger in size? It’d be quite heavy if we use fondant, should we use foam block inside, then cover by fondant?
Thx!
YY
I’d actually recommend rice cereal treats over foam – simply because I like edible decorations and the fondant would stick to it better. However, foam would work!
Hello:
I will leave this question for Rose since it’s her tutorial.
Thanks,
Louise
Really appreciate the simplicity of your tutorial, even I can do that one.. and I will. Thank you for sharing x
It looks stunning!! I am really amazed how talented you are 🙂
This is too cute! Thanks for sharing your techniques.
Very cute! Bravo. Also, I love the smiling cow.